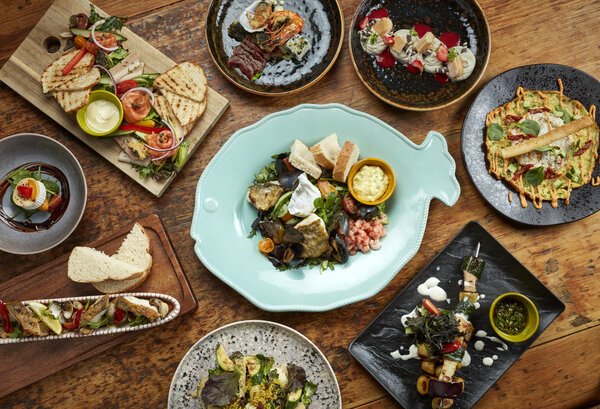
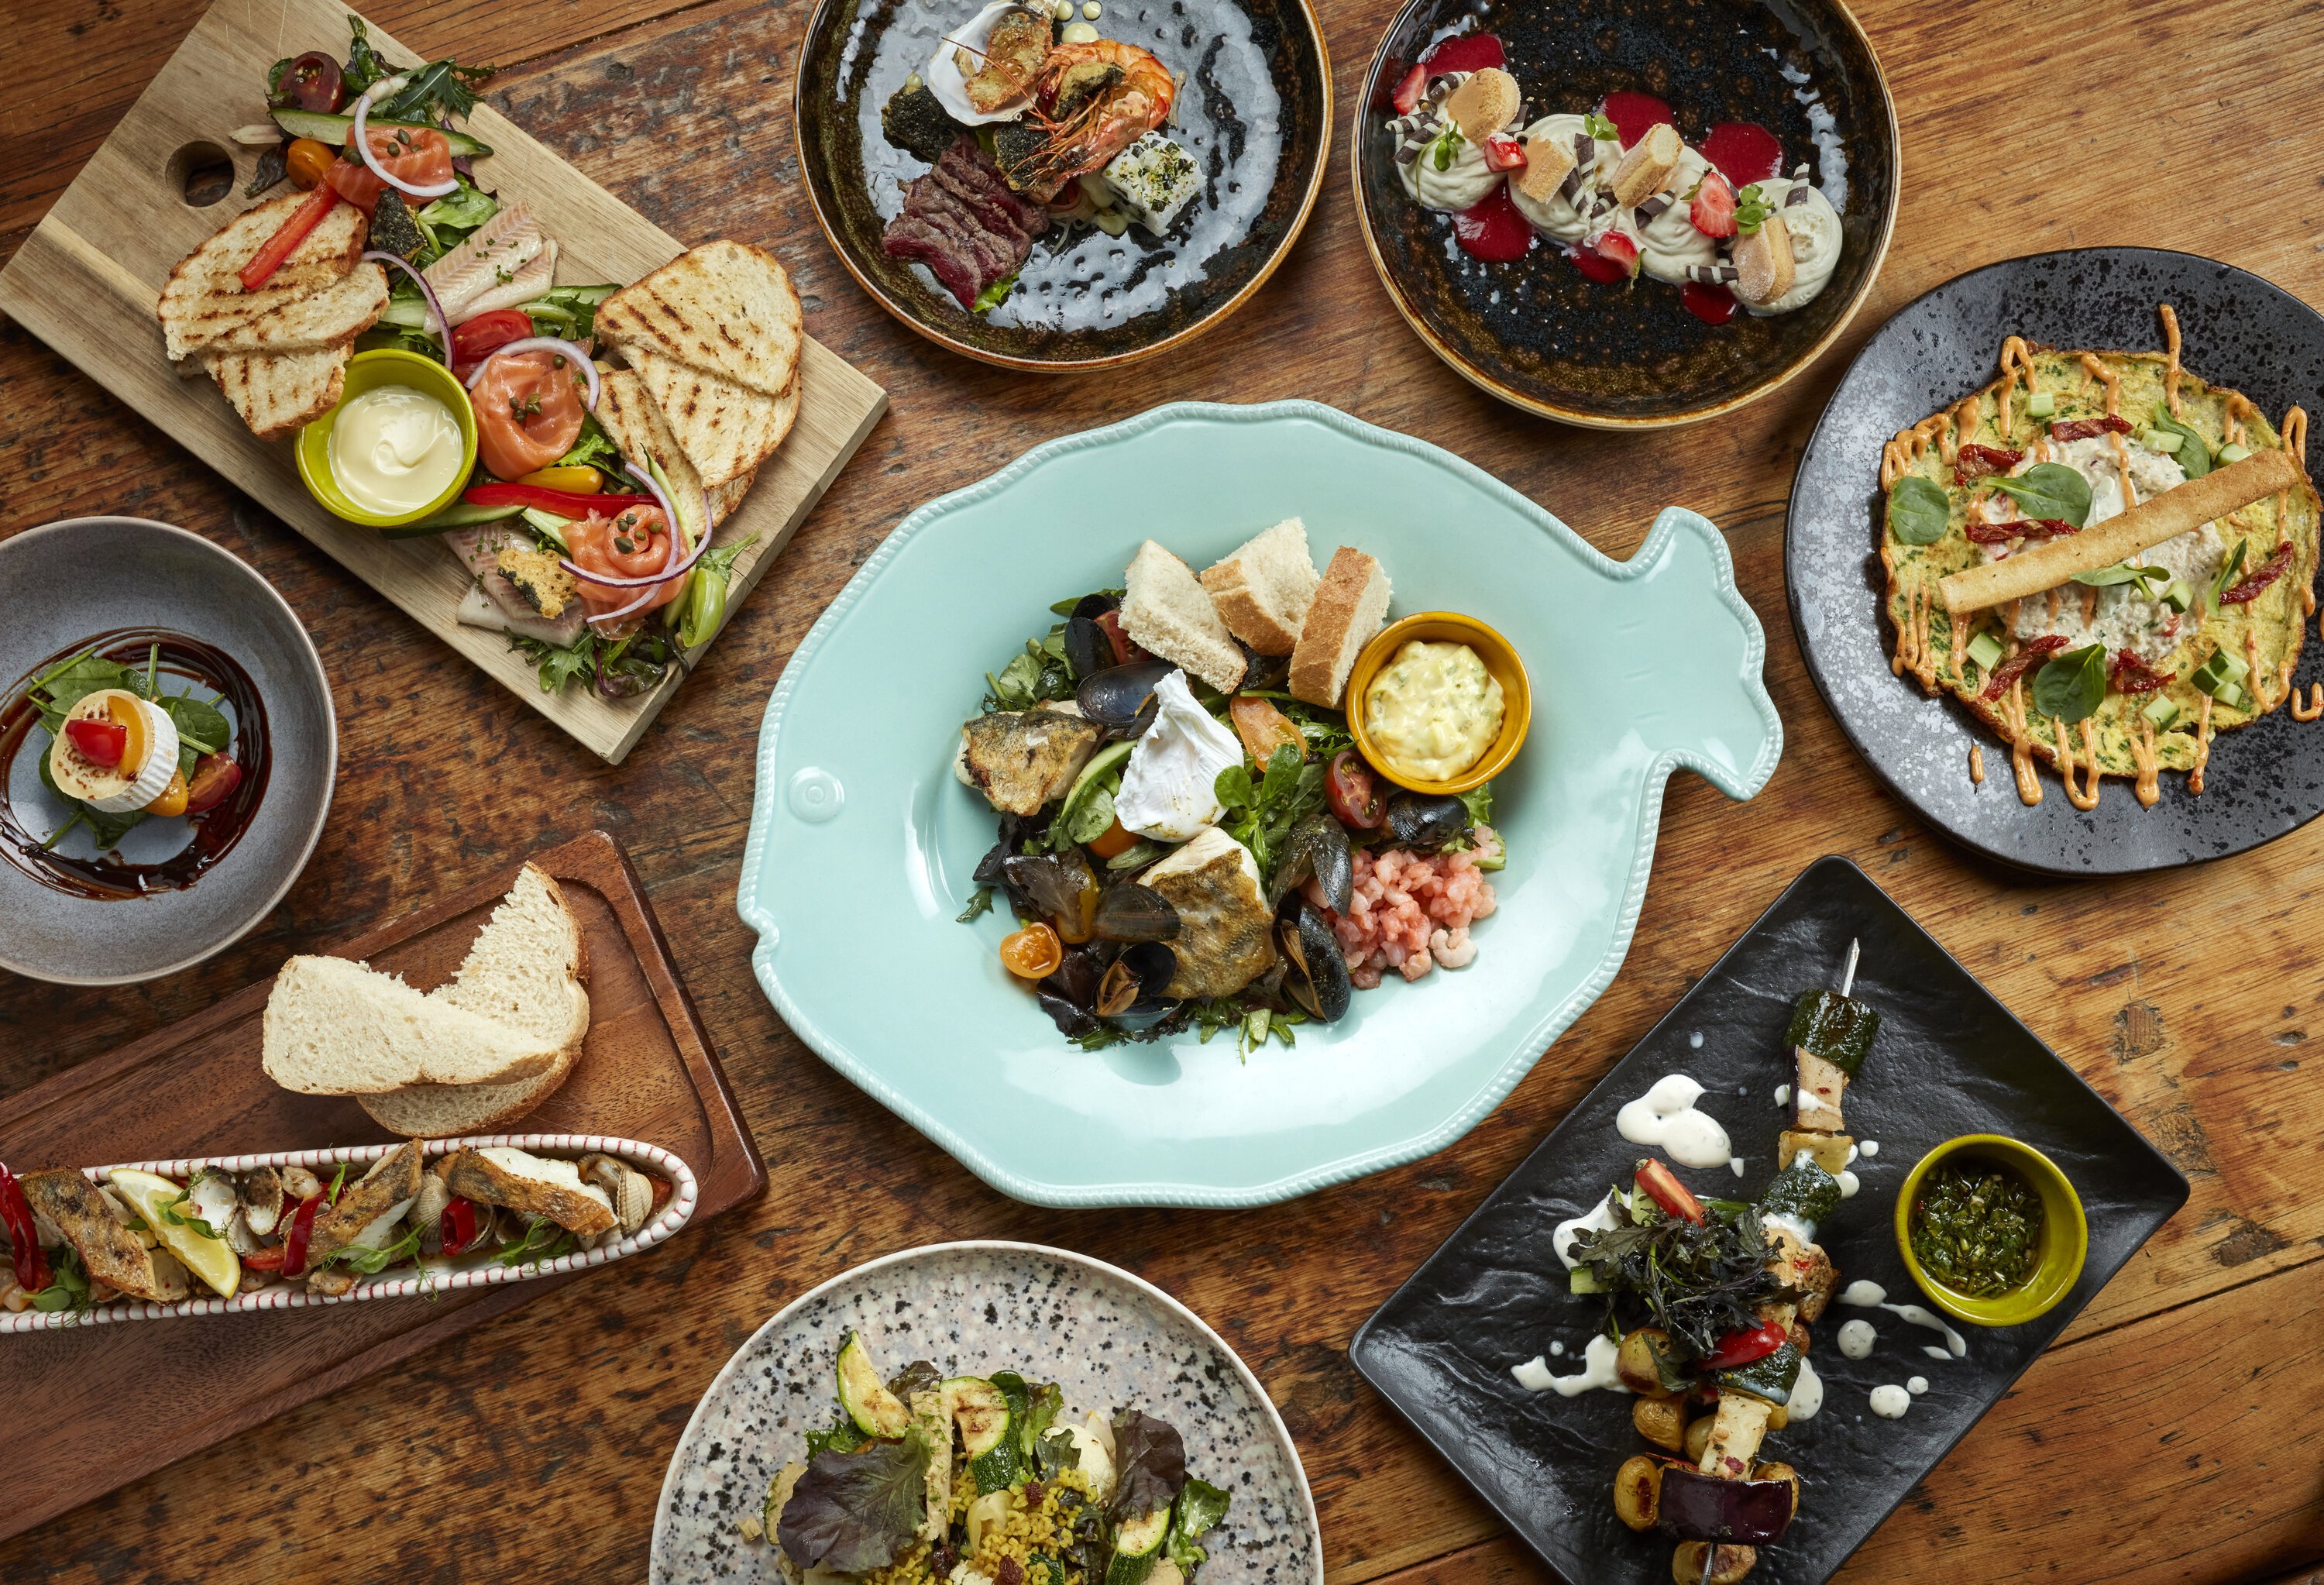
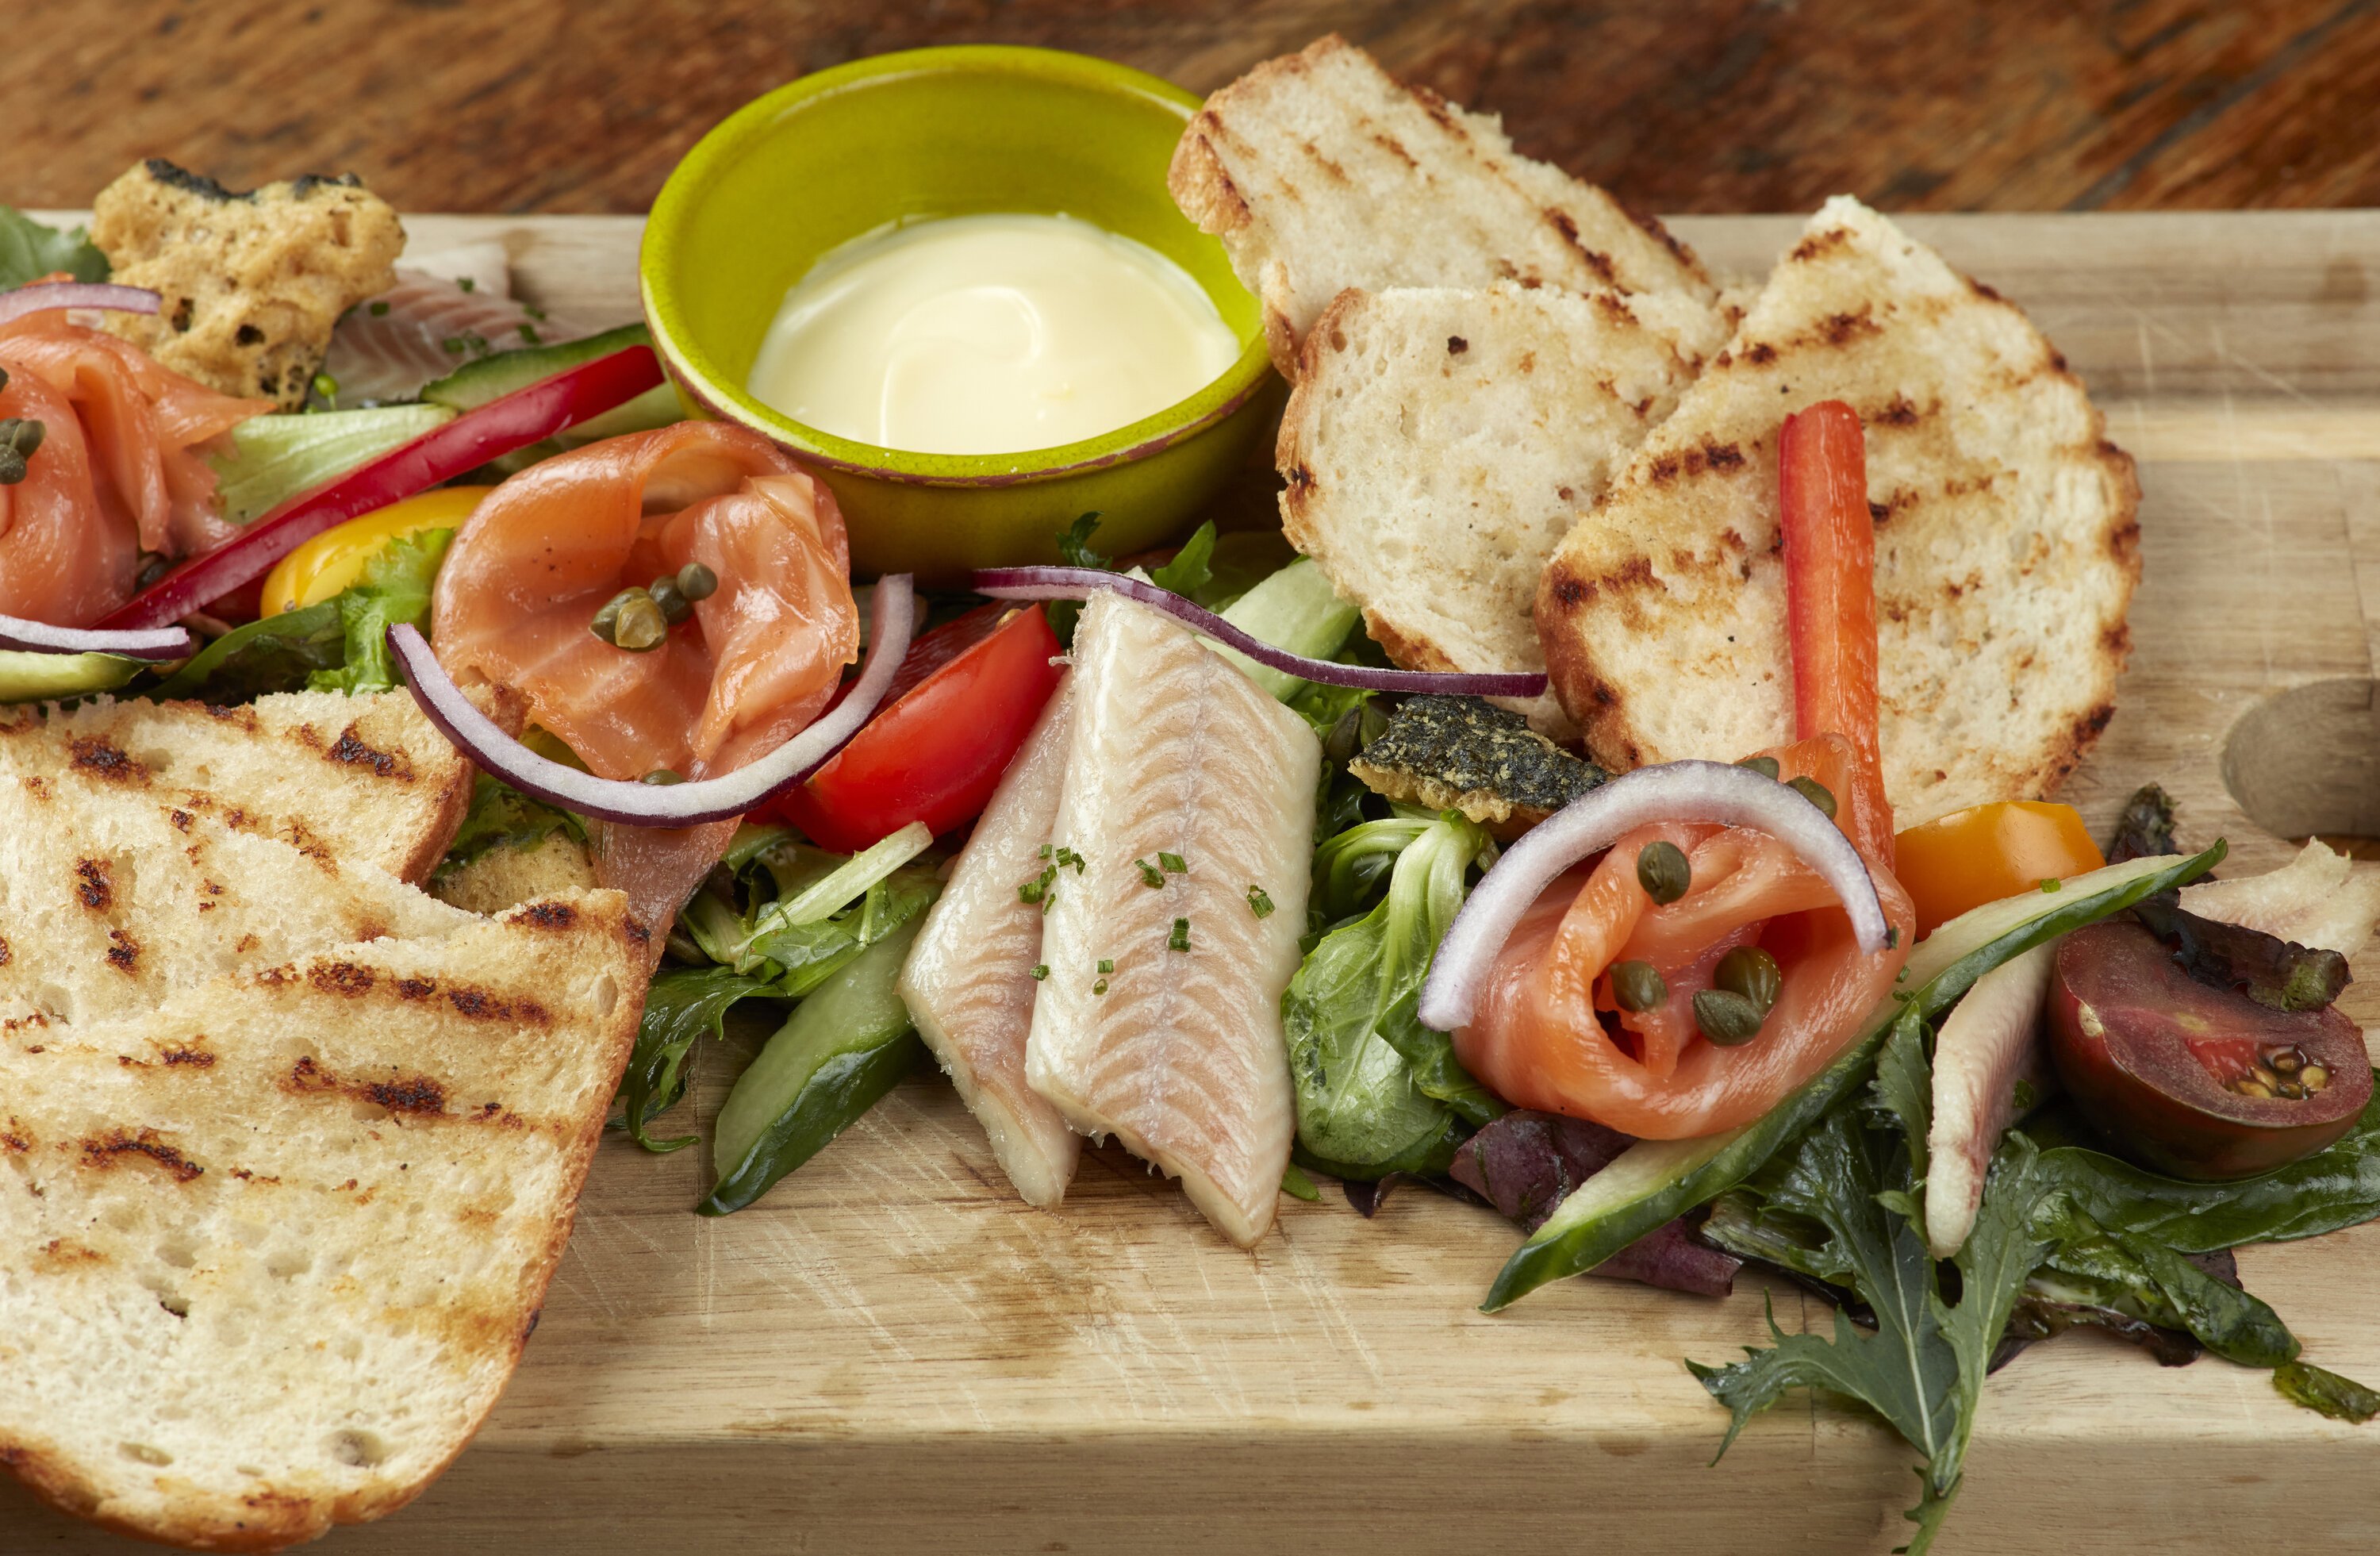
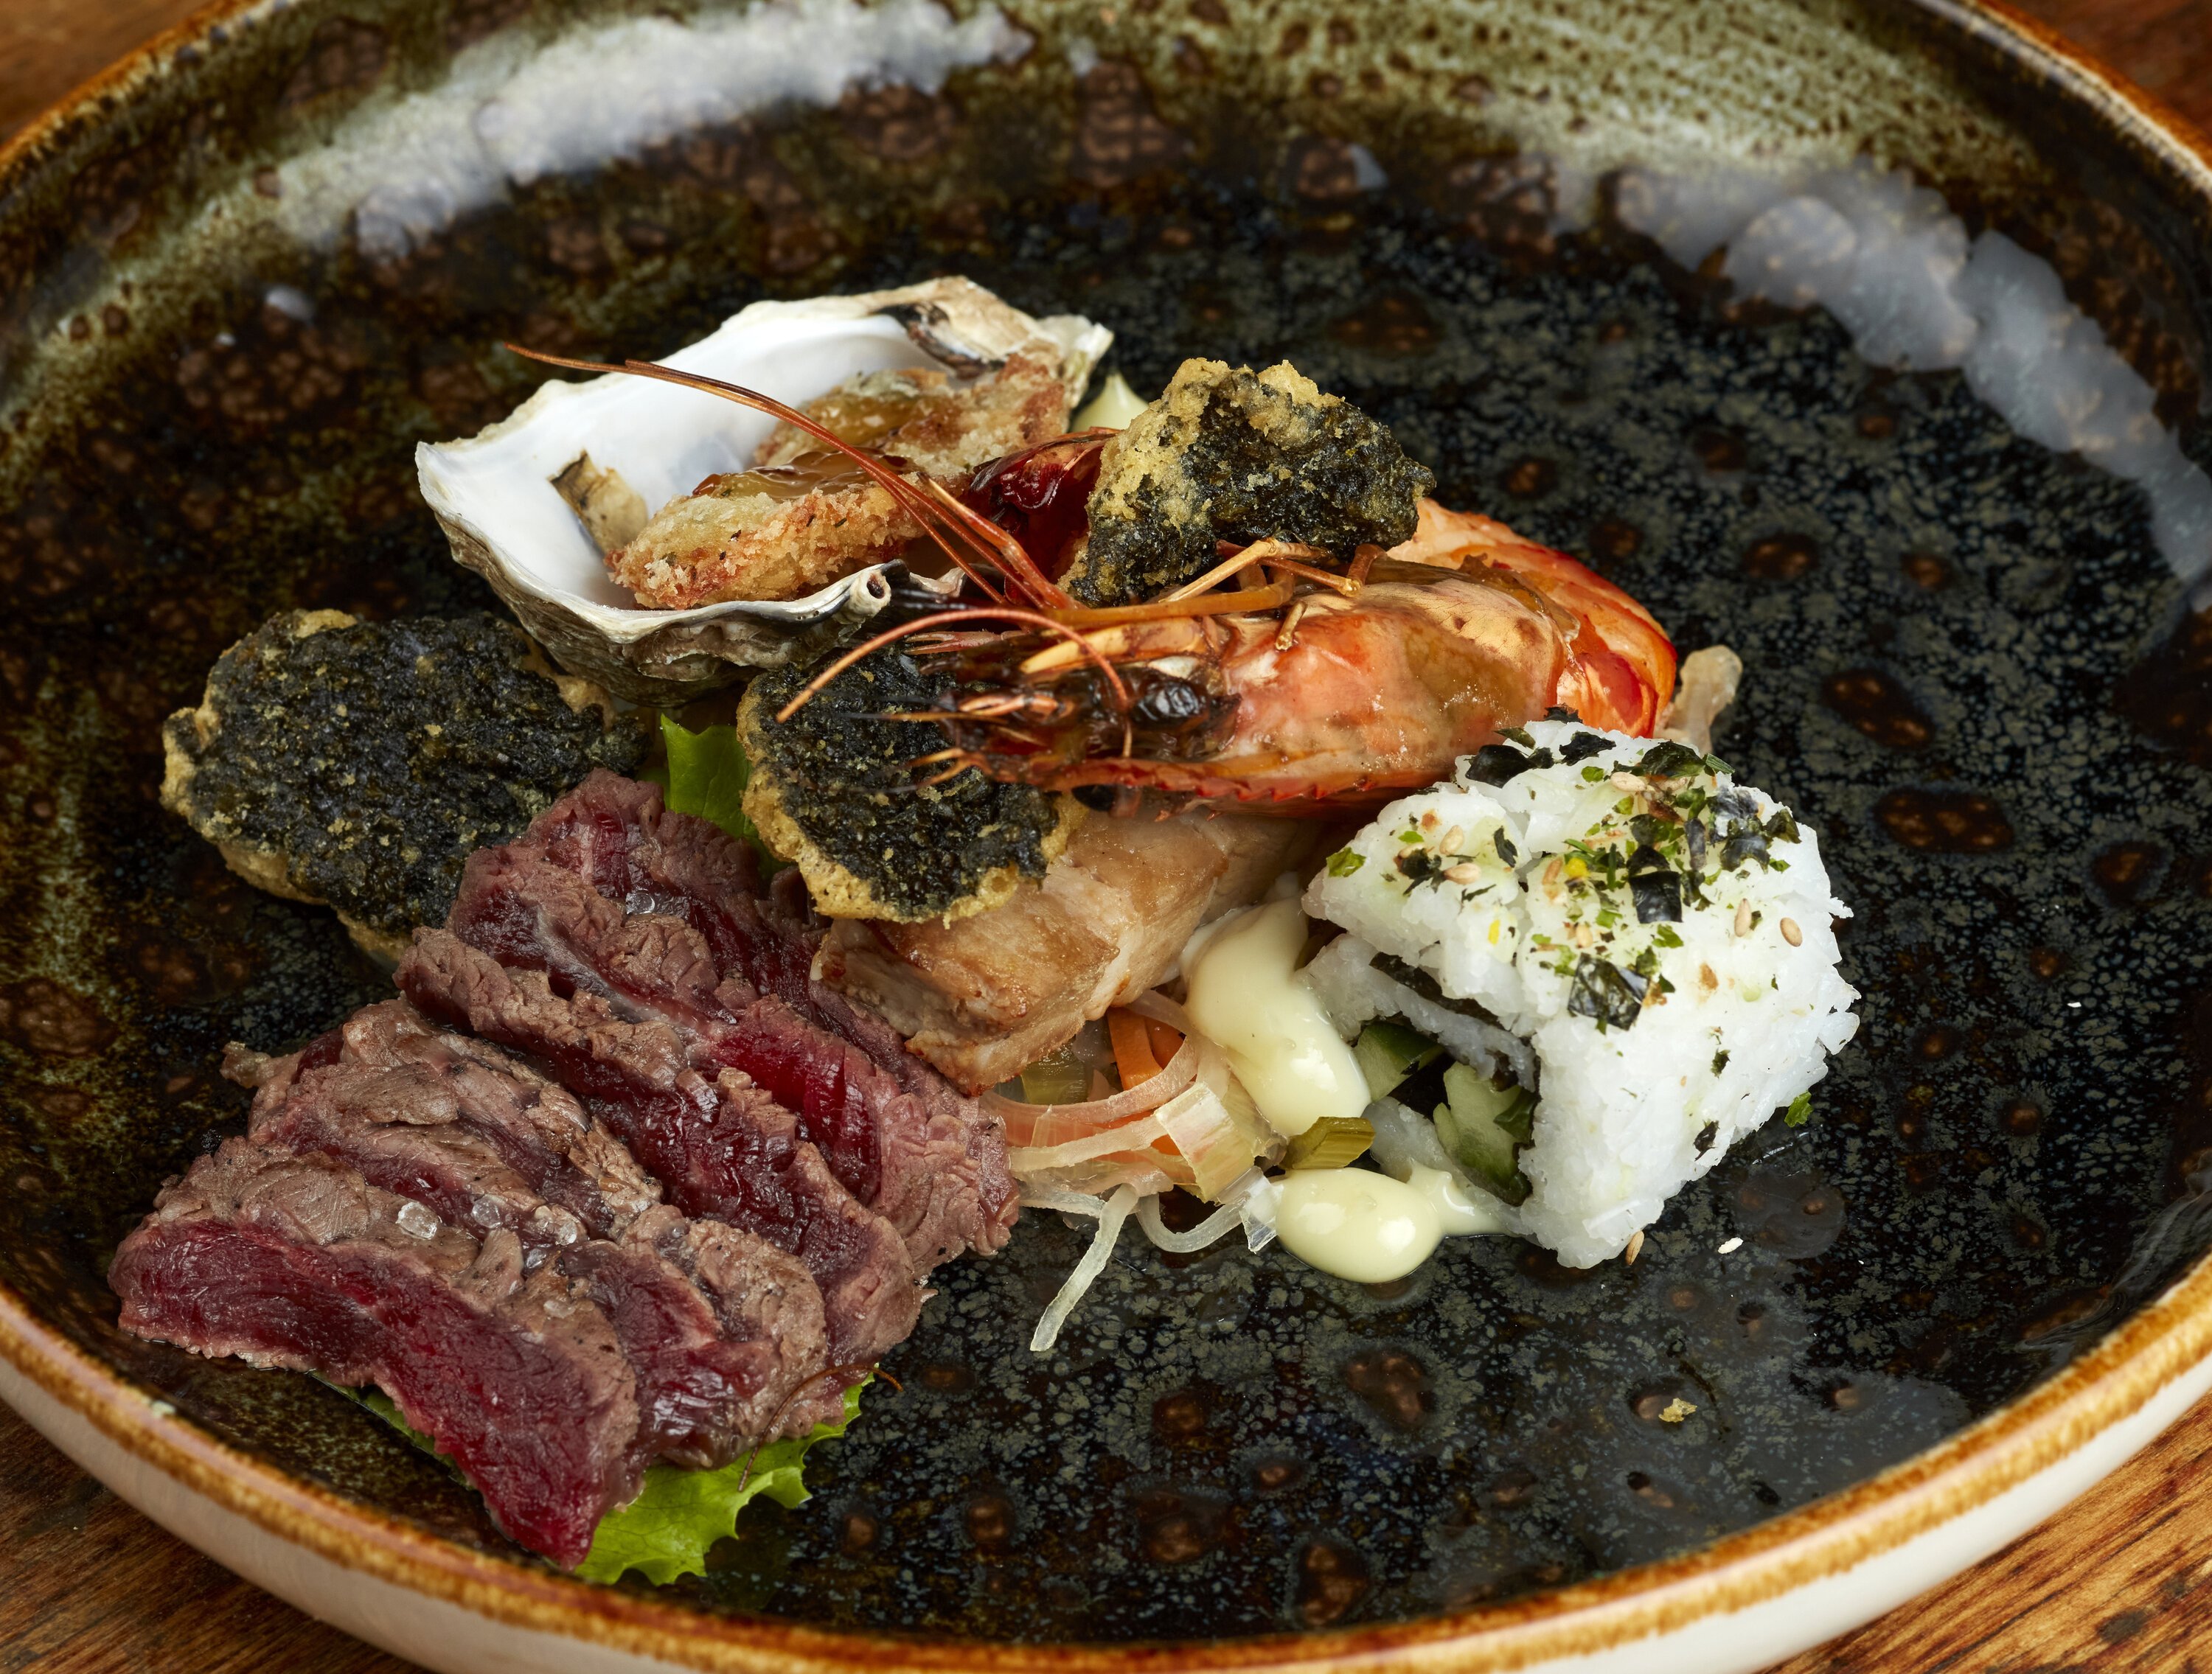
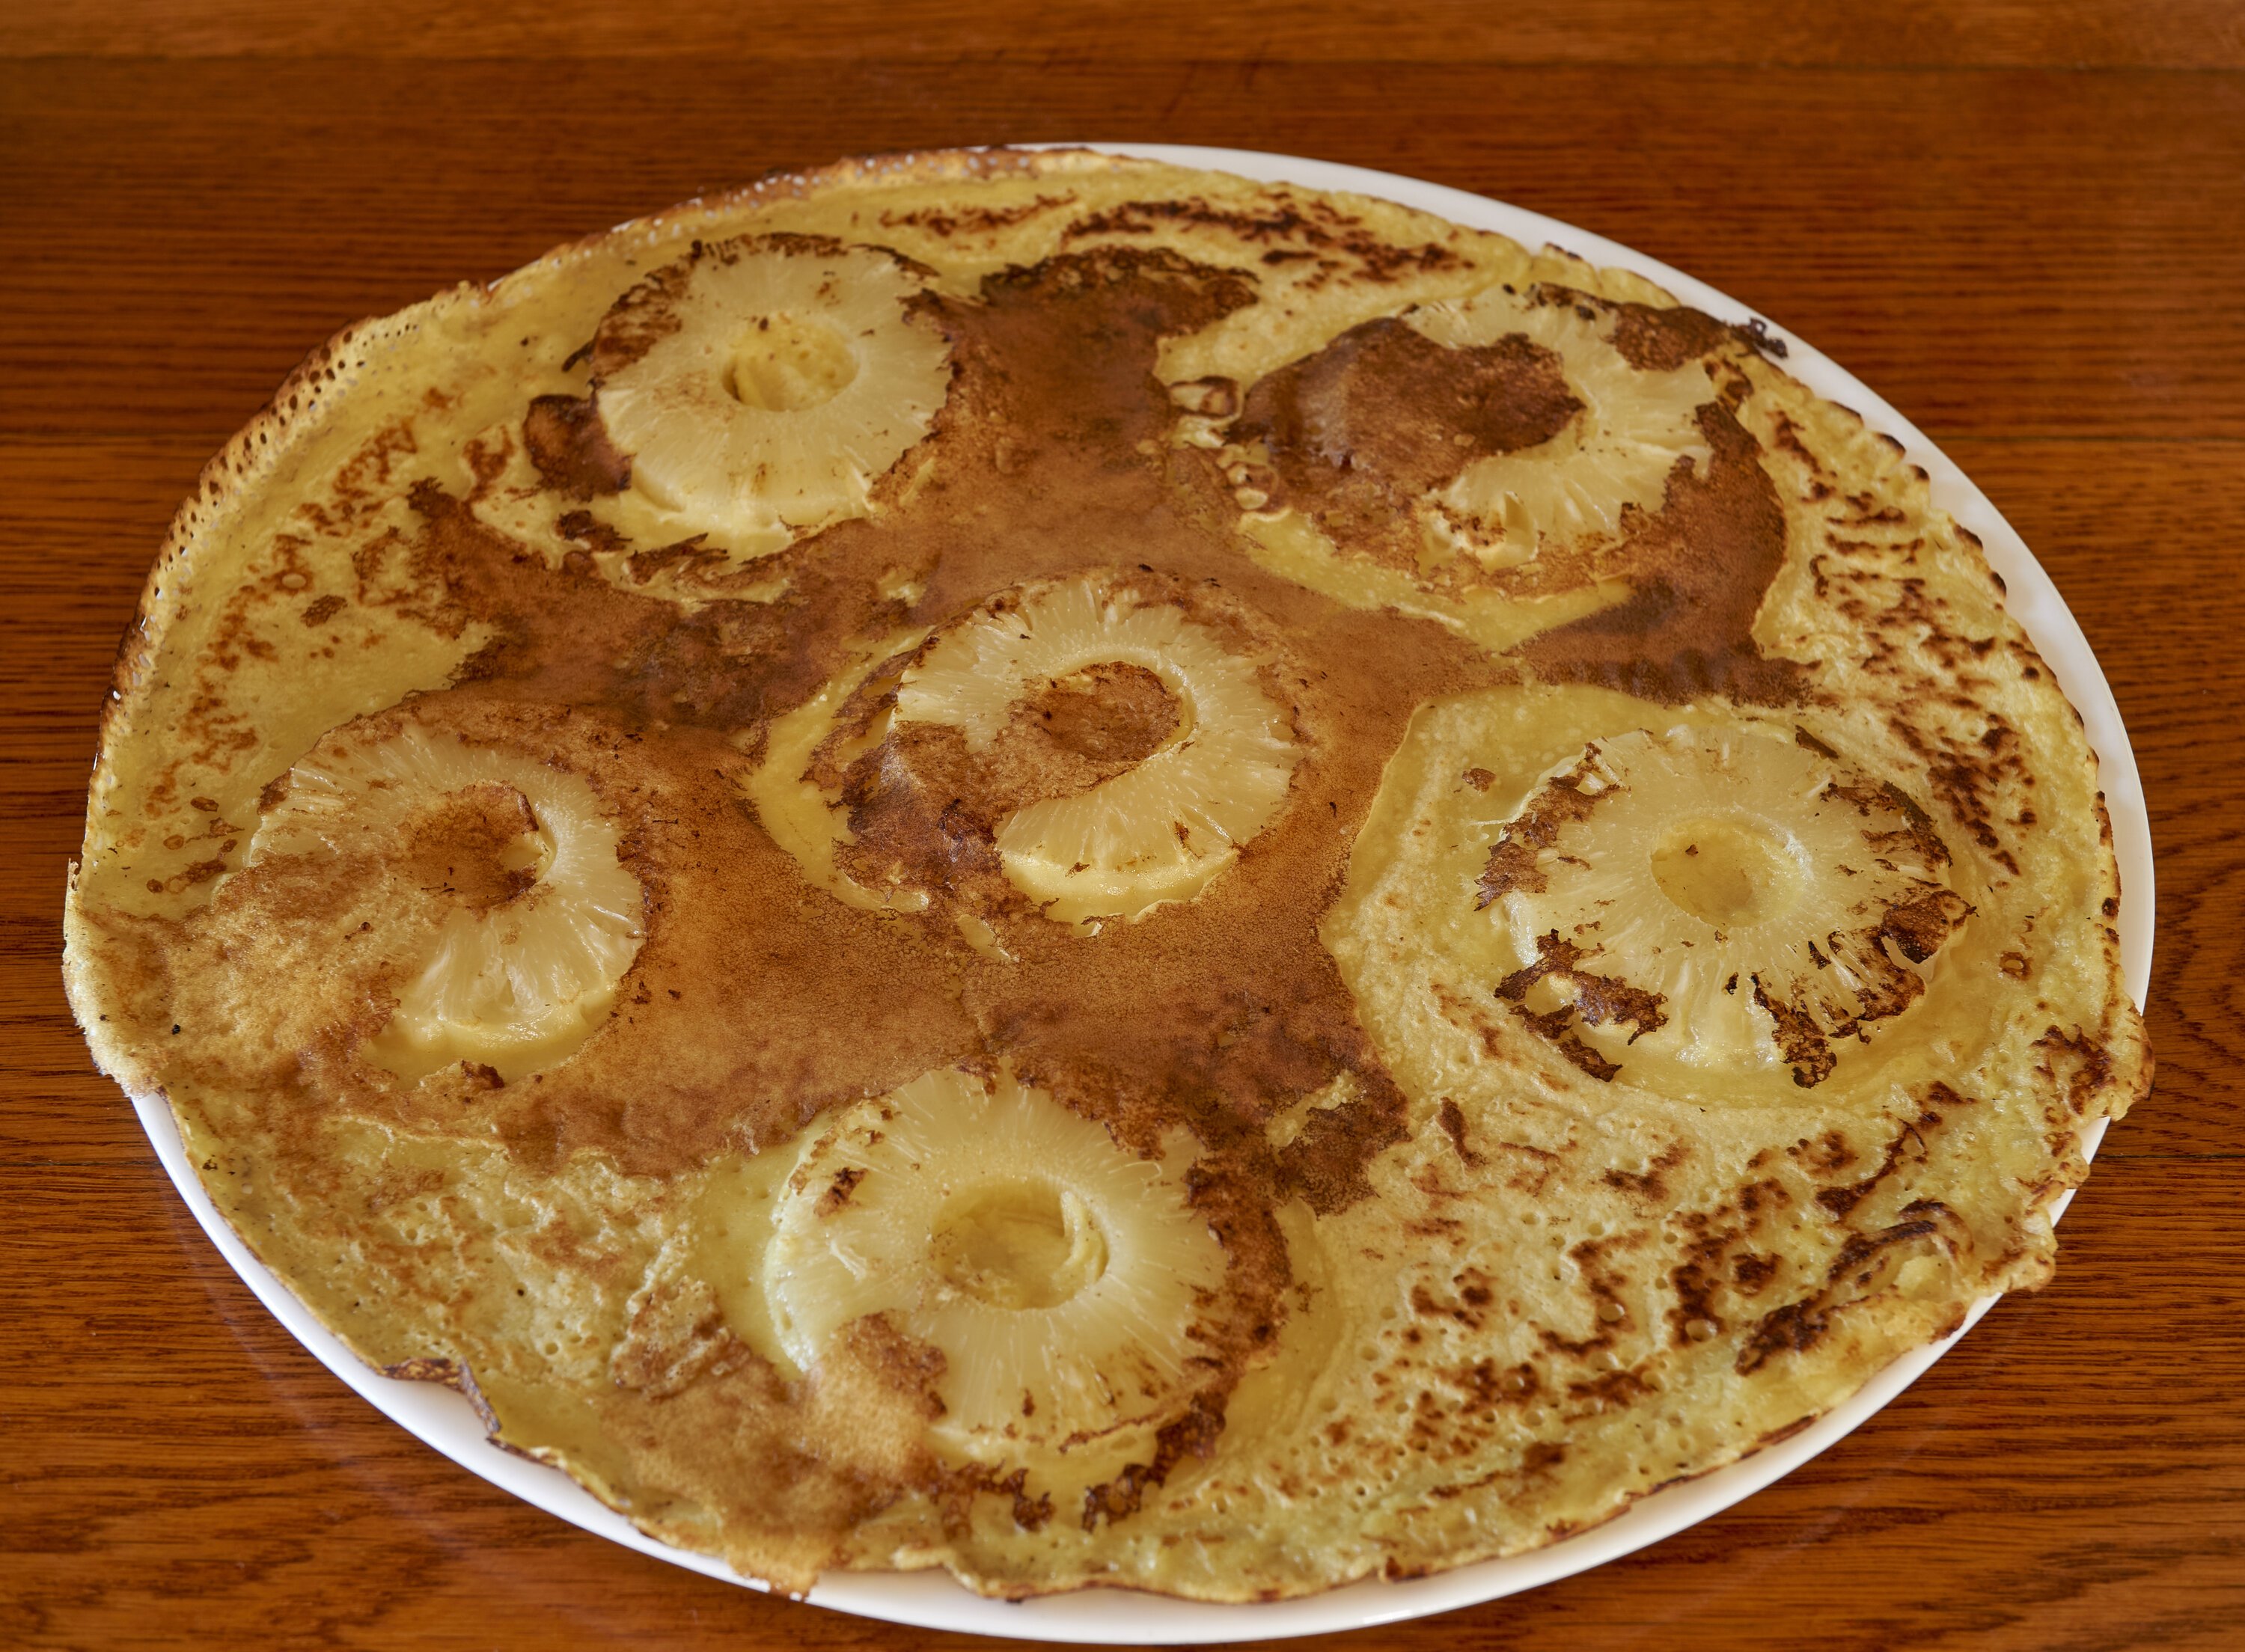
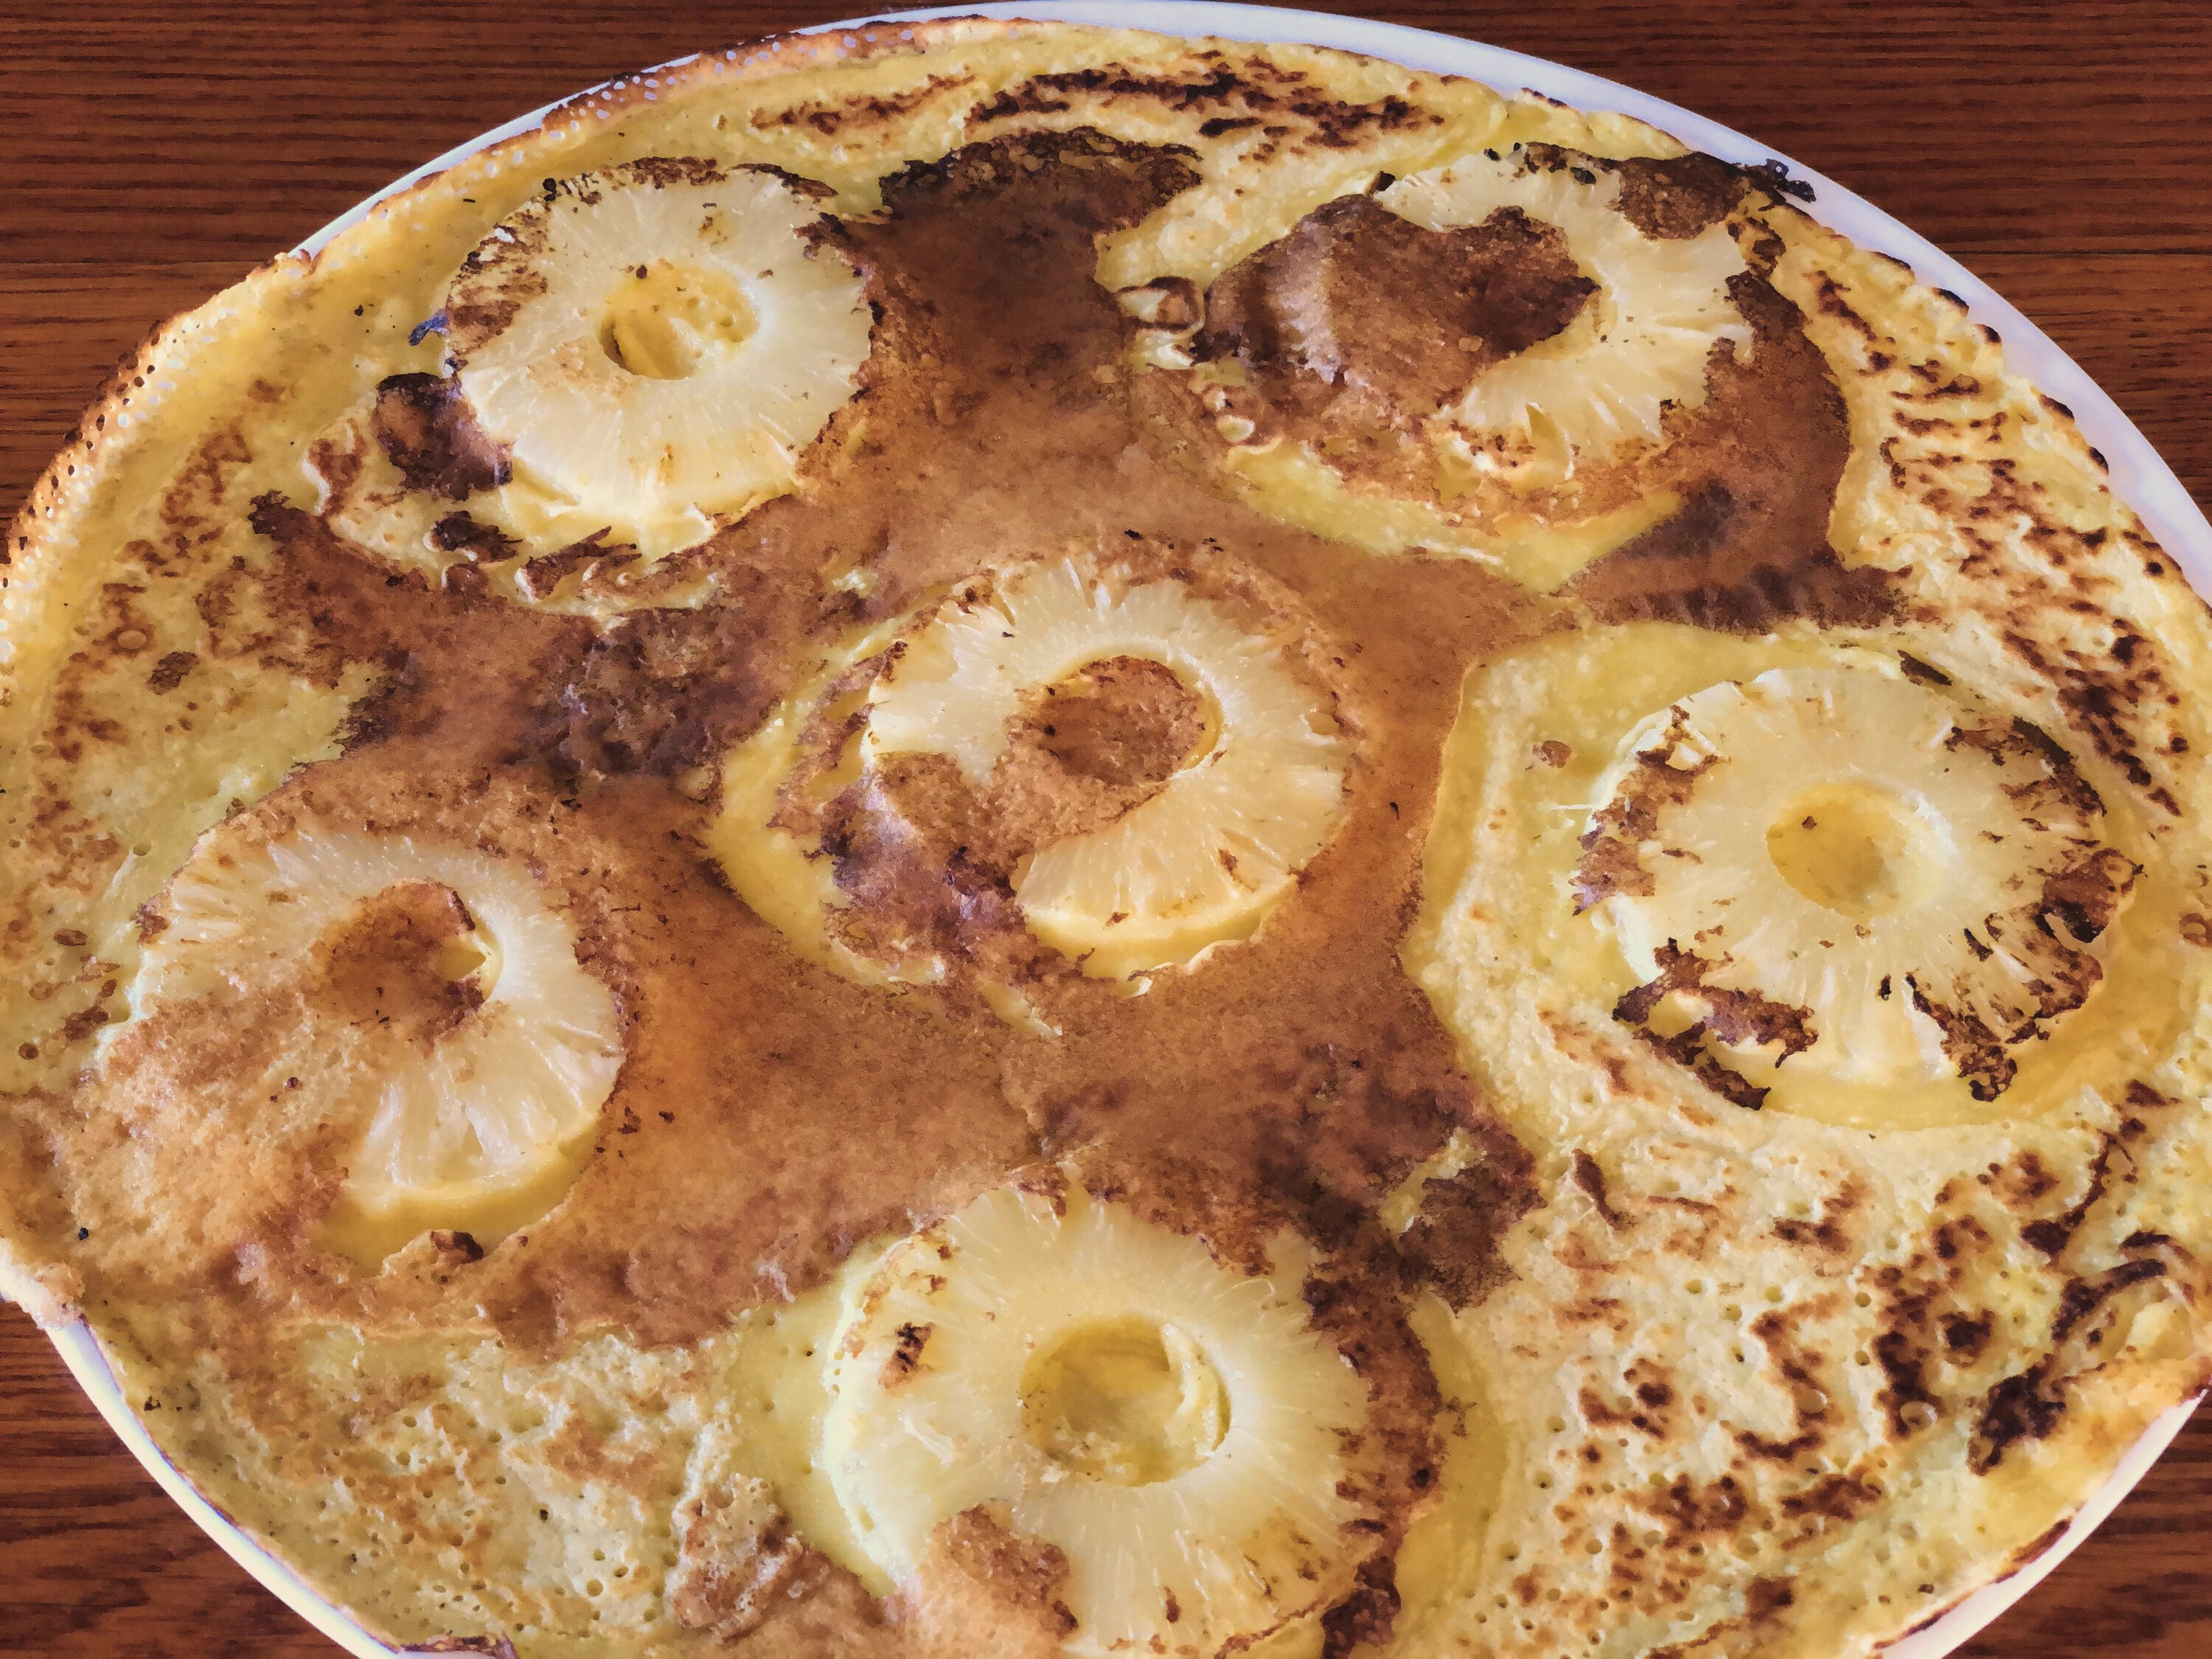
Last month, I wrote about the photography of takeaway and delivery dishes. This past week, I photographed a series of pancakes in three different ways using three different cameras. The goal was twofold: on the one hand, to better understand the differences between the various methods for myself; on the other, to ensure I can offer my services as effectively and efficiently as possible. Curious how 50-megapixel Canon power compares to the cameras of an iPhone X?
My suitcase filled with photography equipment often draws attention; it may look quite impressive. For this test setup, I brought three different cameras, and I’m happy to share some of my insights. I photographed the pancakes using:
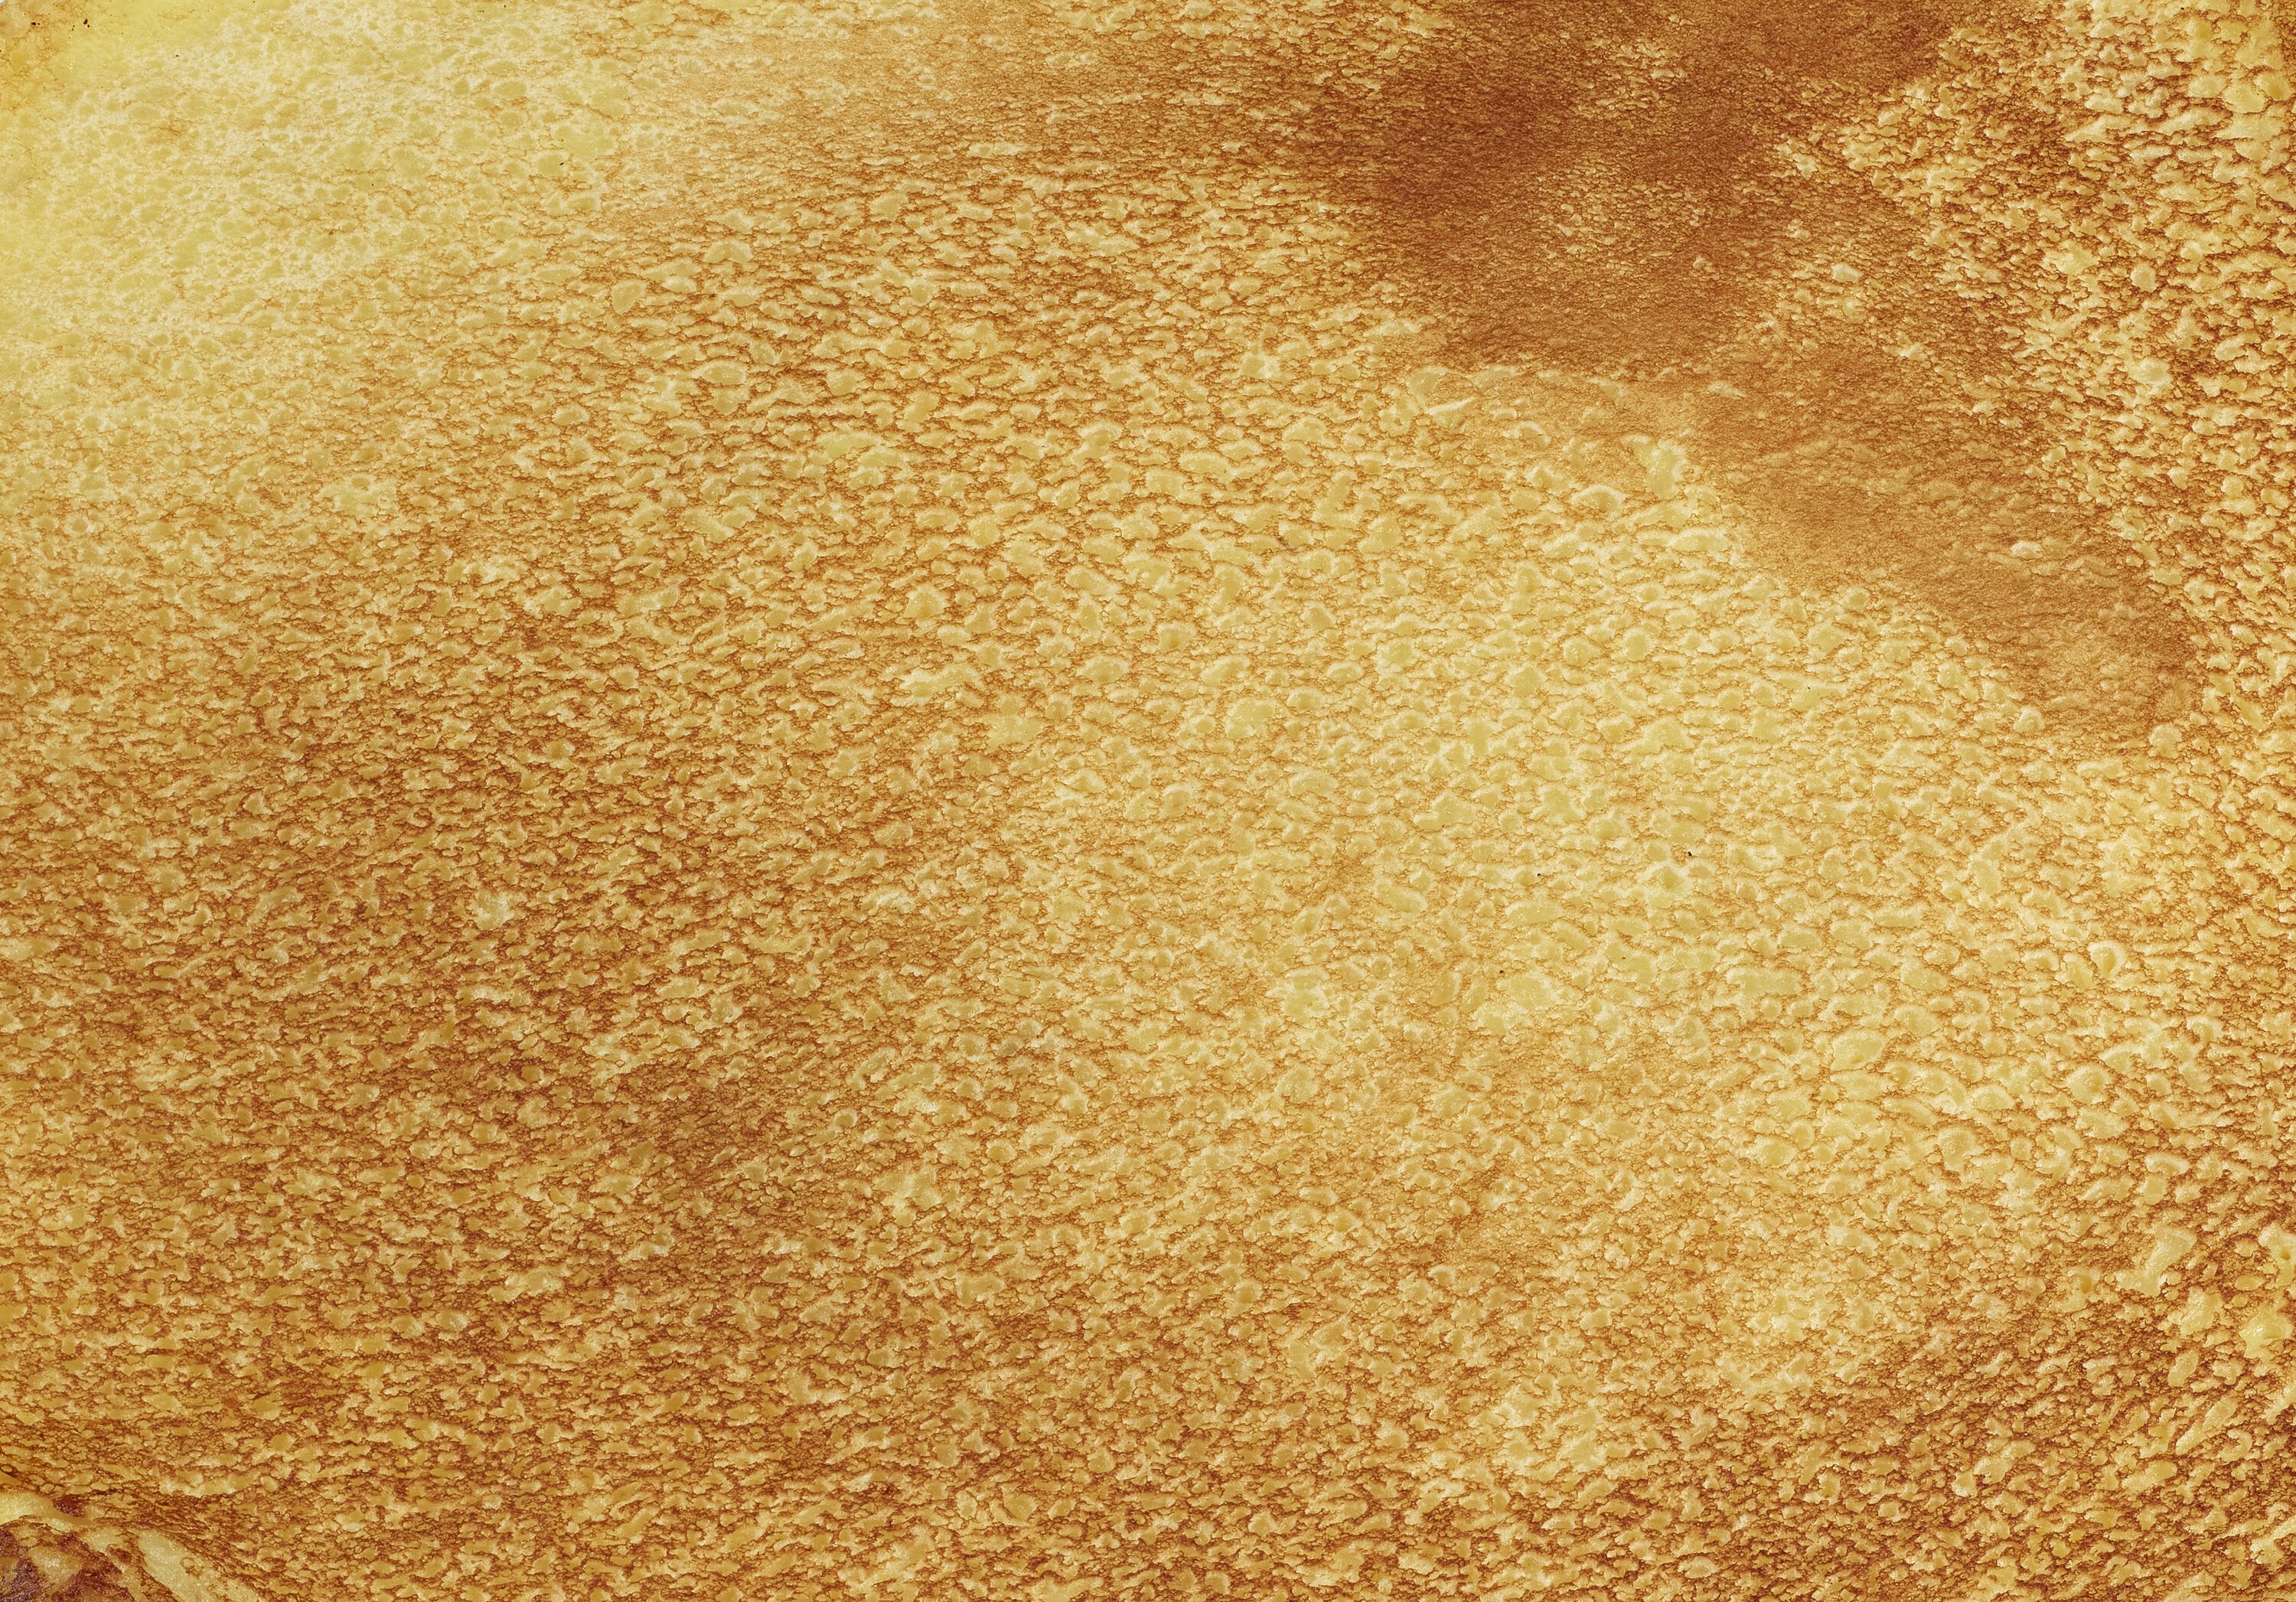
Canon EOS 5DSr + Canon TS-e 50mm f/2.8 Macro + tripod + 2x Canon Speedlight 600EXII-RT flashes in two 60x60 softboxes (50 megapixels, camera from 2015)
This setup is by far the most advanced.
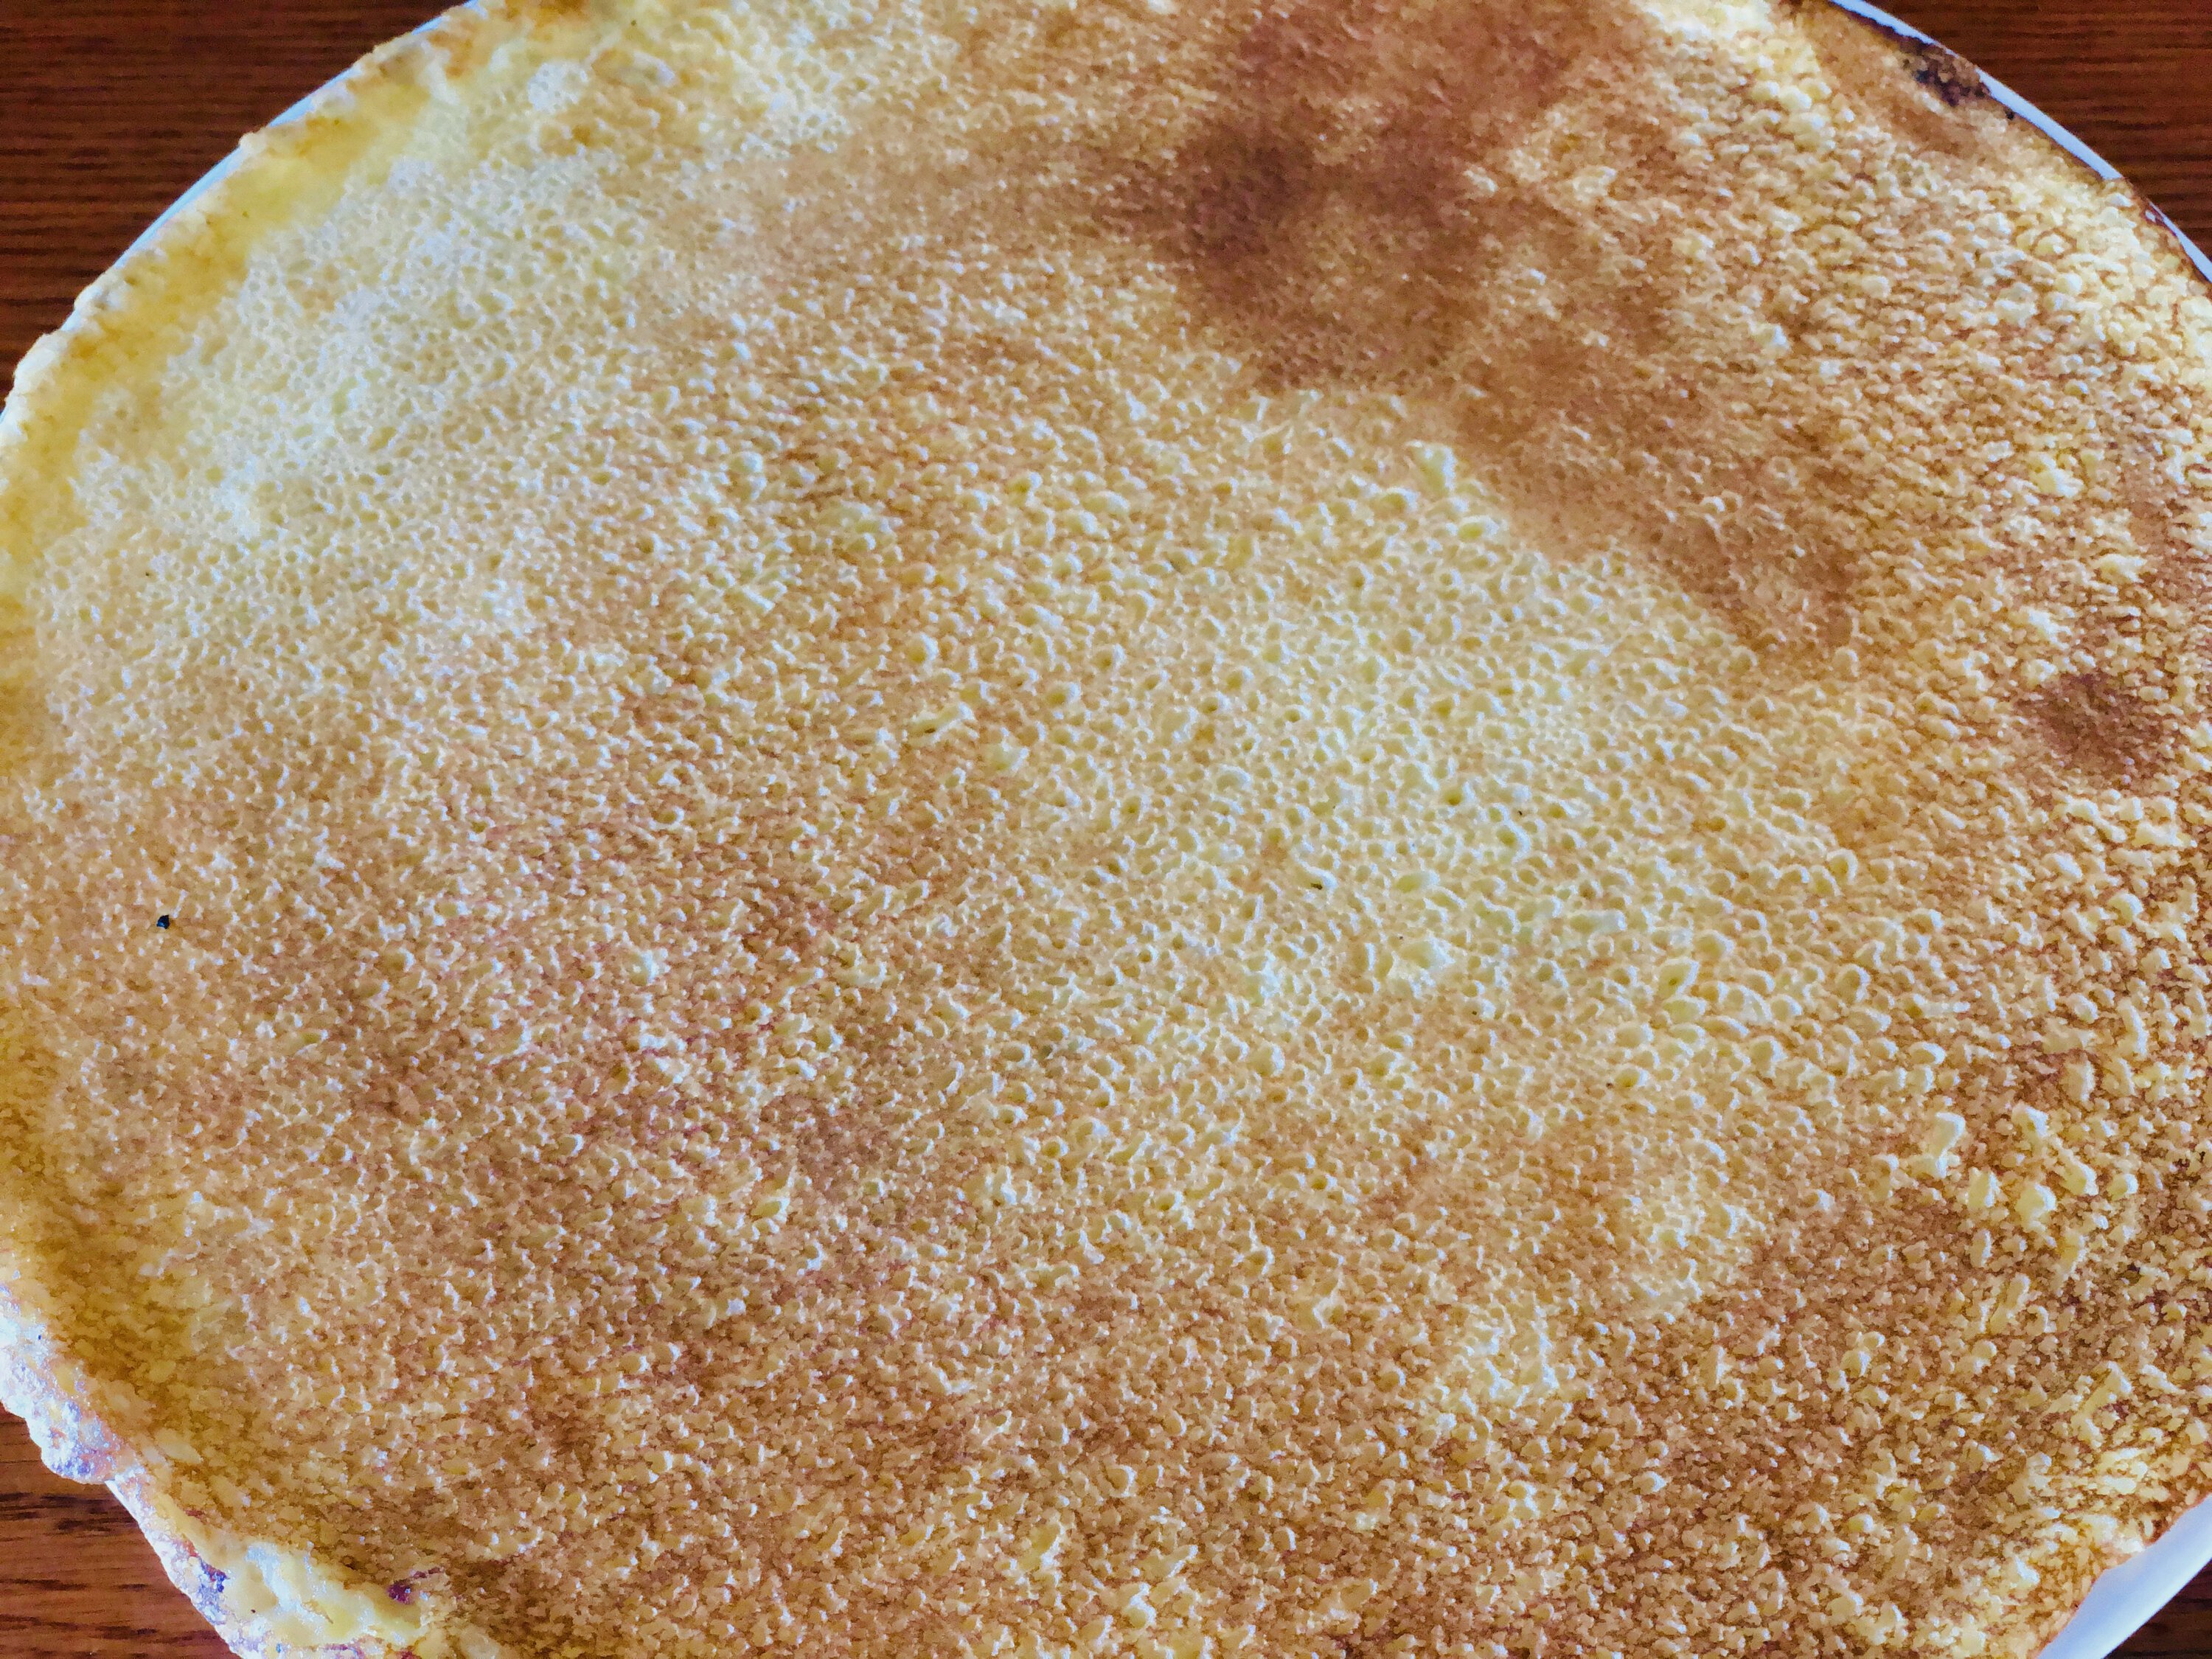
Sony A6500 + Sony SEL 30mm f/3.5 Macro + tripod + existing (indirect) daylight (24 megapixels, camera from 2016)
This is a compact system camera that takes up little space but is capable of producing excellent results.
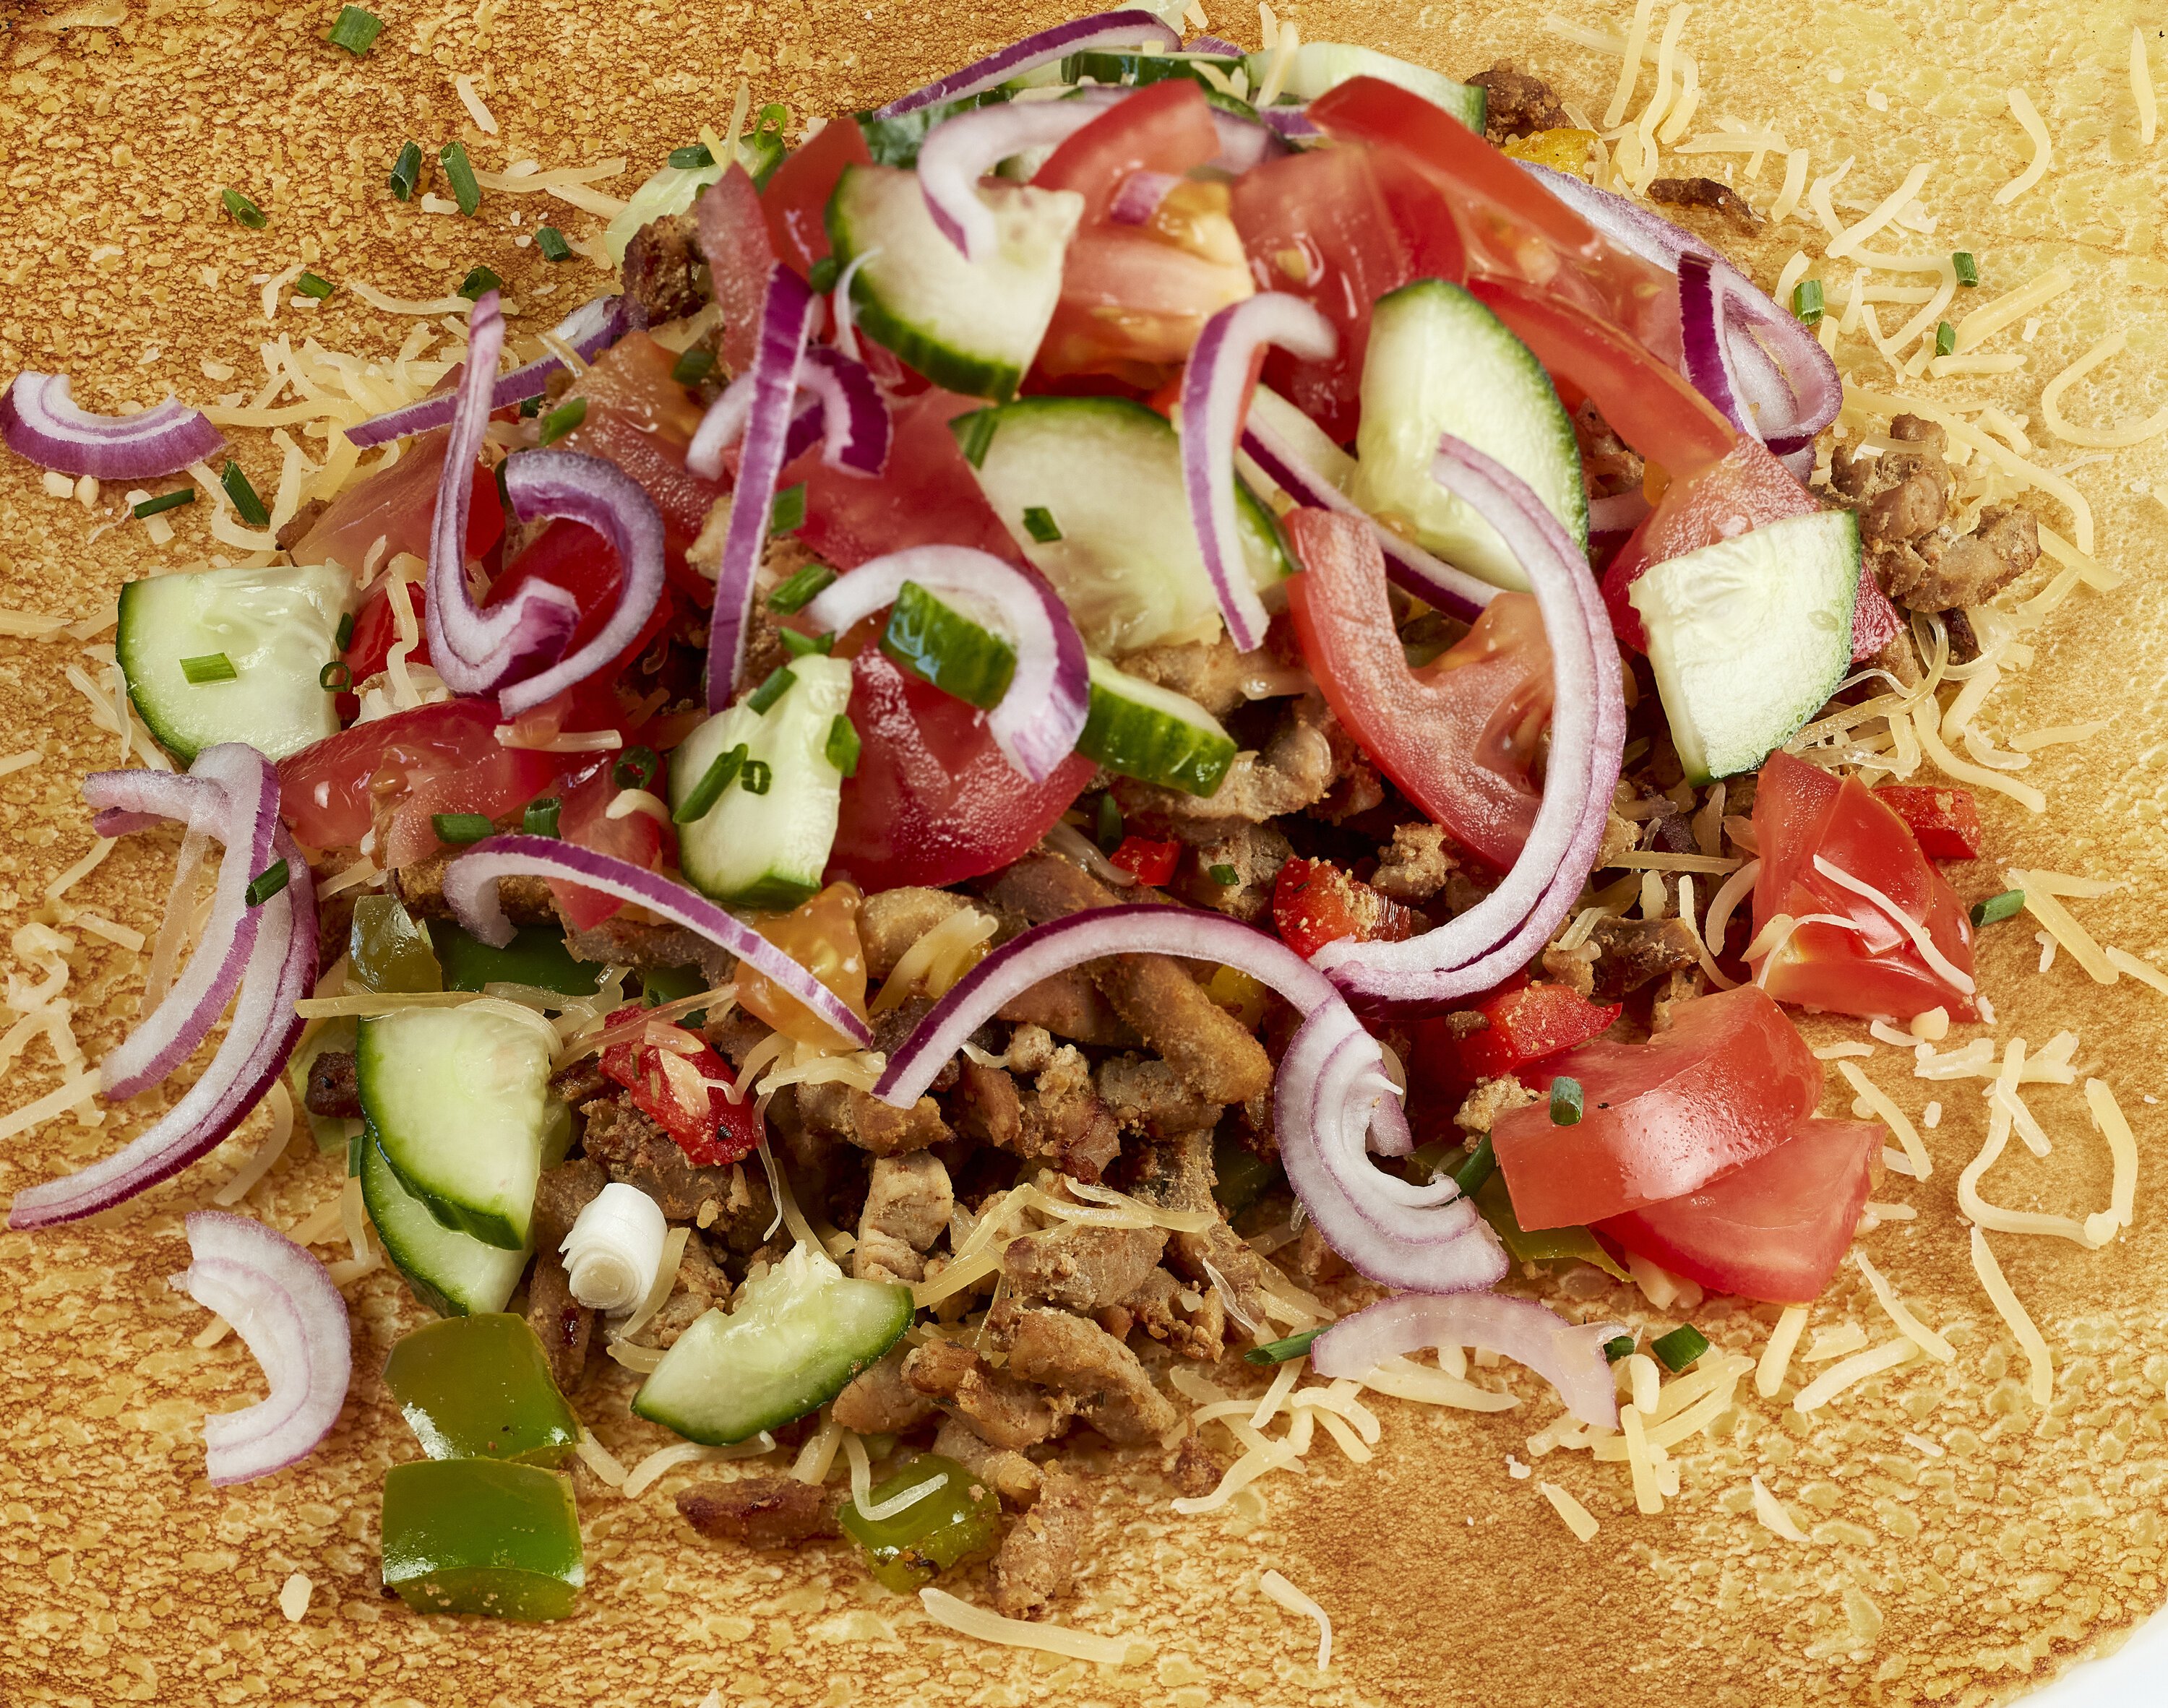
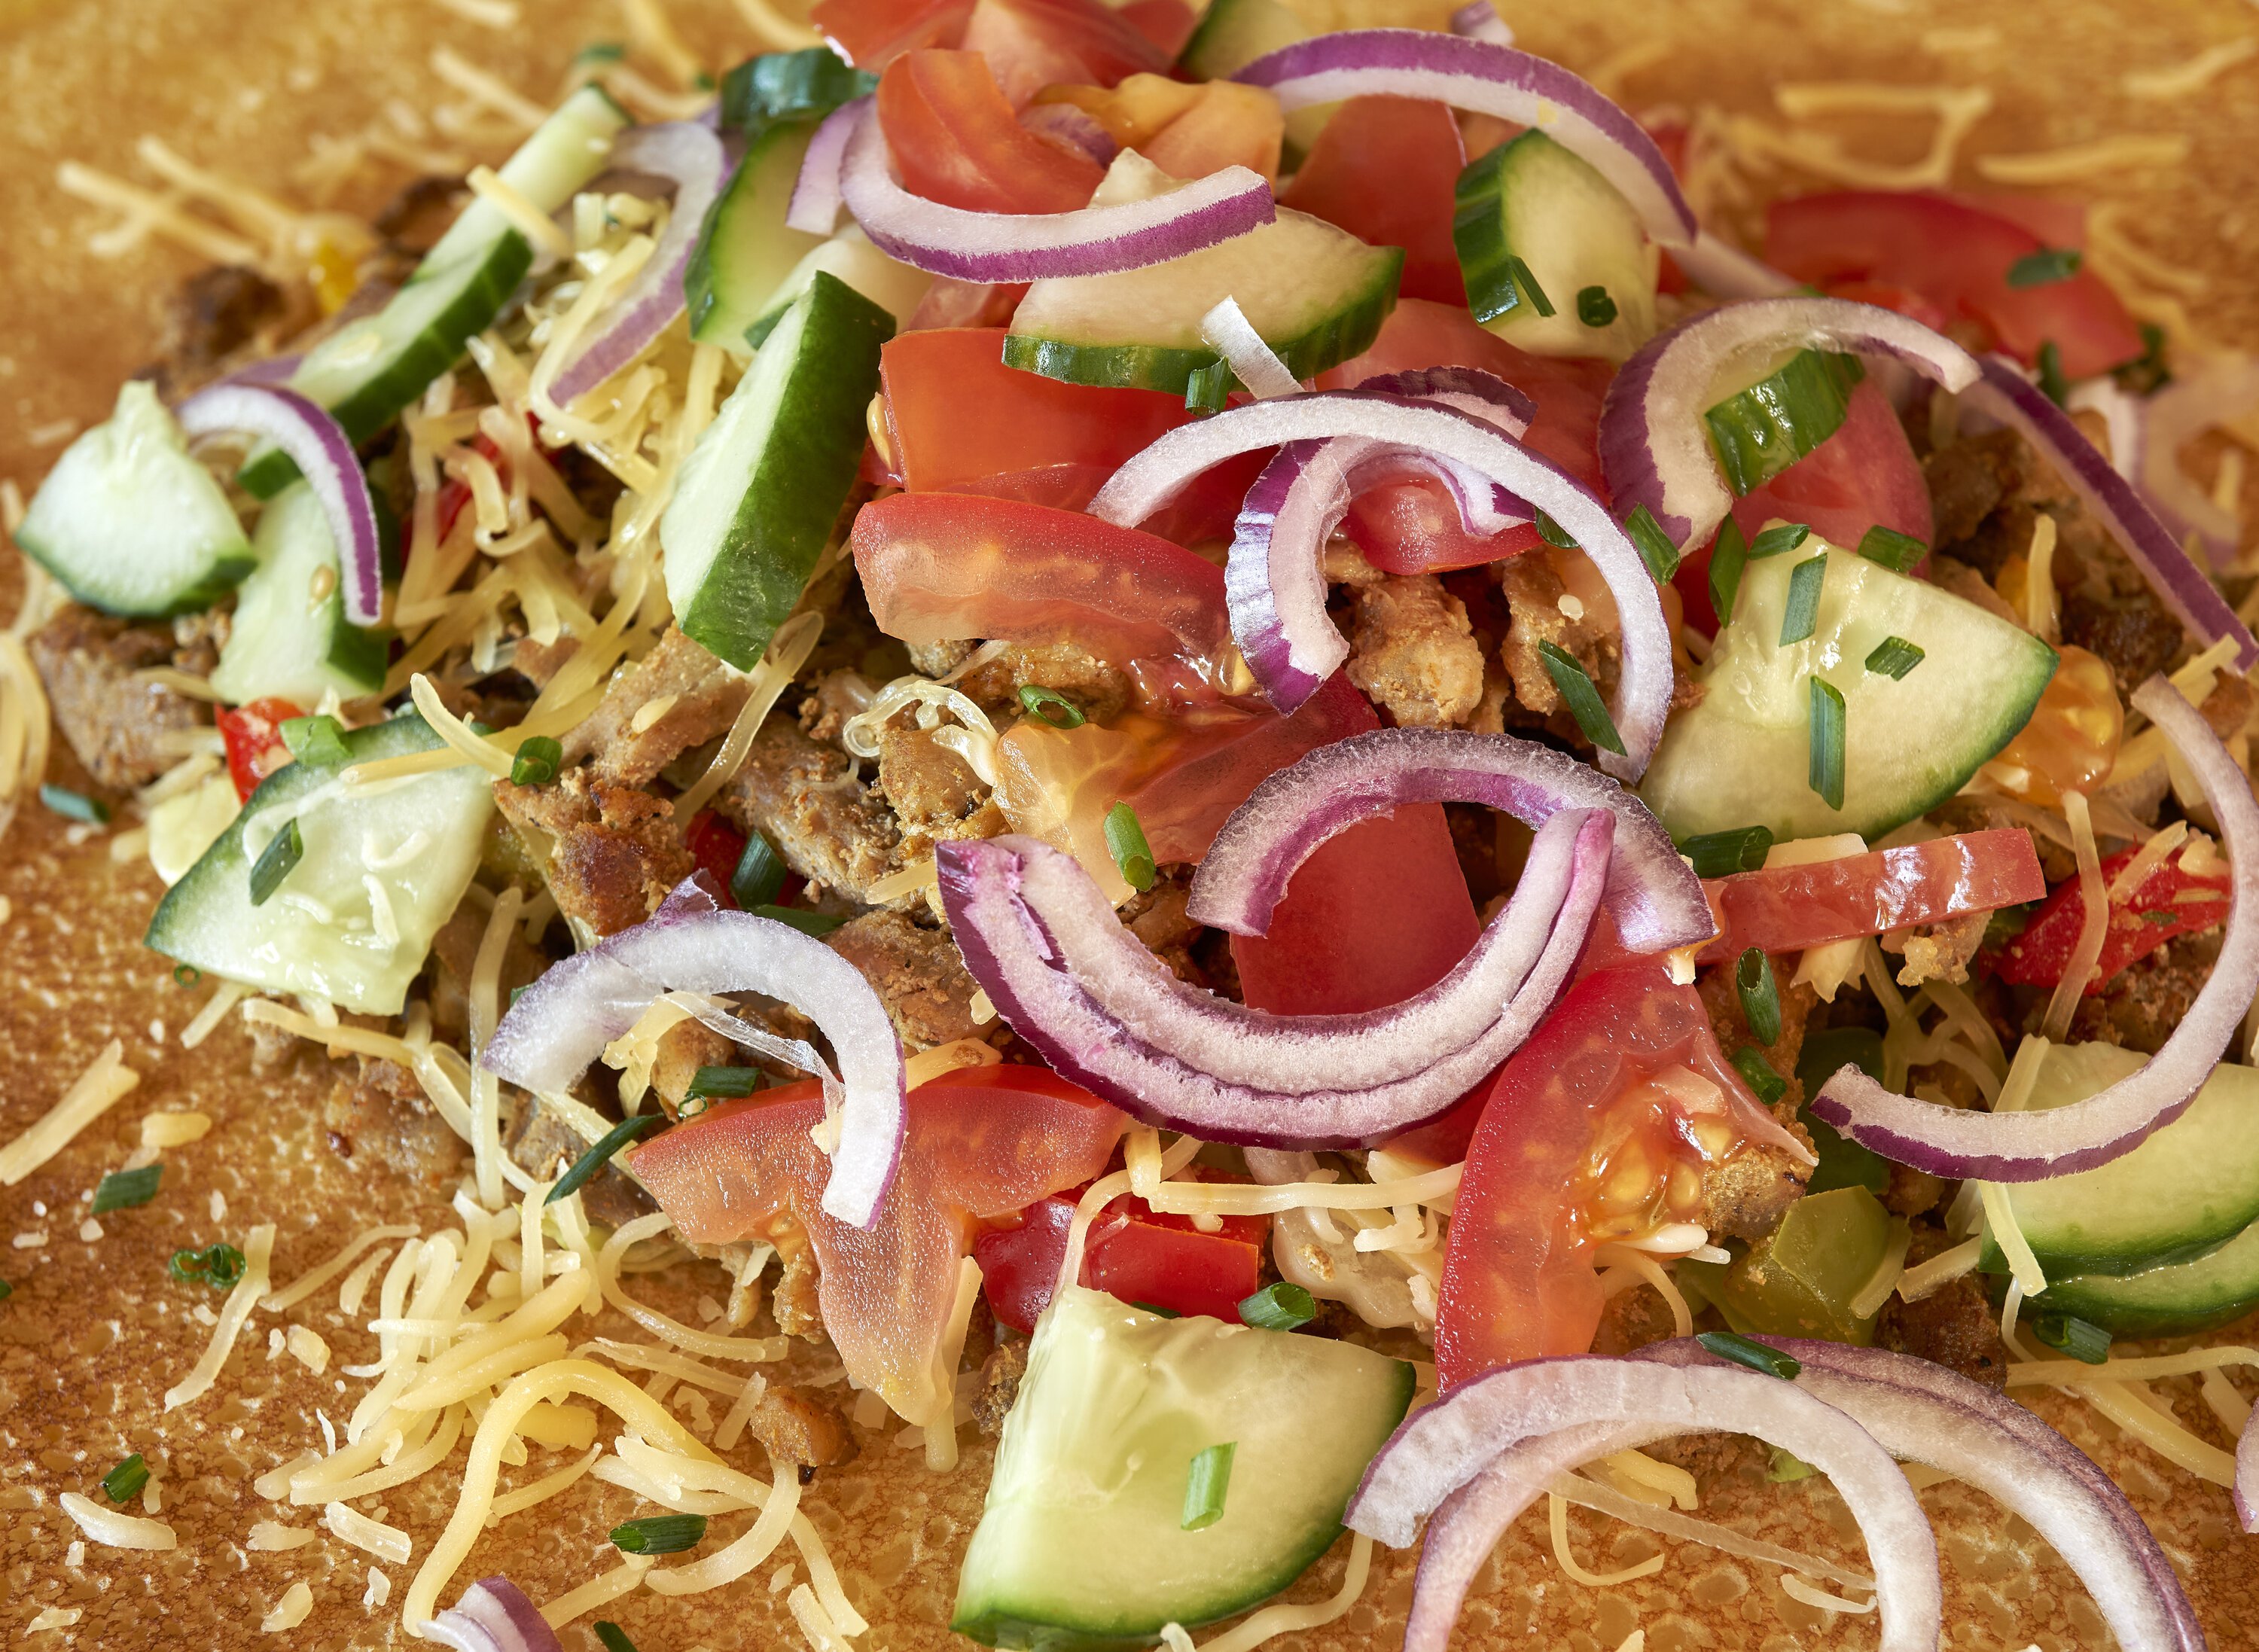
Apple iPhone X + tripod + existing (indirect) daylight (12 megapixels with a 4mm f/1.8 and a 6mm f/2.4 lens, device from 2017)
This phone combines hardware from 2017 with software from 2020. It’s remarkable what this combination of hardware and software can offer consumers and entrepreneurs alike.
A brief explanation of the workflow per test setup. Budgets and possibilities differ for each hospitality entrepreneur. I want to be able to assist in multiple ways. Primarily by delivering the best possible visual material. To achieve this, I photograph dishes with great attention to detail. Throughout the day, I create sharp images with consistent and natural colors. For this purpose, I prefer setup A. By controlling the light with flashes, post-processing is minimal and the texture of the food is rendered optimally.
When budgets are more limited, I can teach entrepreneurs how to work with setups like B and C themselves. With an apparently simple camera, it is still possible to create strong and attractive images. Of course, there are differences, and I can demonstrate these extensively. However, those differences alone do not sell a dish. I want to provide entrepreneurs with practical tips and insights so they can create strong images — ideally with the camera they already own, without major additional investments such as advanced lenses or flash systems.
The images from test setups A and B were processed using Capture One Pro 20. With setup B, the color and intensity of the light changed over time. The images captured with the iPhone were processed directly on the phone using the standard Photos app. No computer required for this workflow.
The purpose of this test was, on the one hand, to make the difference in quality more tangible. On the other hand, it was about exploring effective and efficient ways of working. Lastly, I thoroughly enjoyed explaining to interested onlookers what I was doing and why.
Based on these insights, I am developing a creative workshop for those who want to photograph food and dishes in an appealing way — using the camera they already have. View the various images below, created with the different setups, and judge for yourself: am I getting the maximum out of my camera, or might the camera be capable of more than the photographer?
Tip: view the images on both a large and a small screen for the best impression.


[image]

