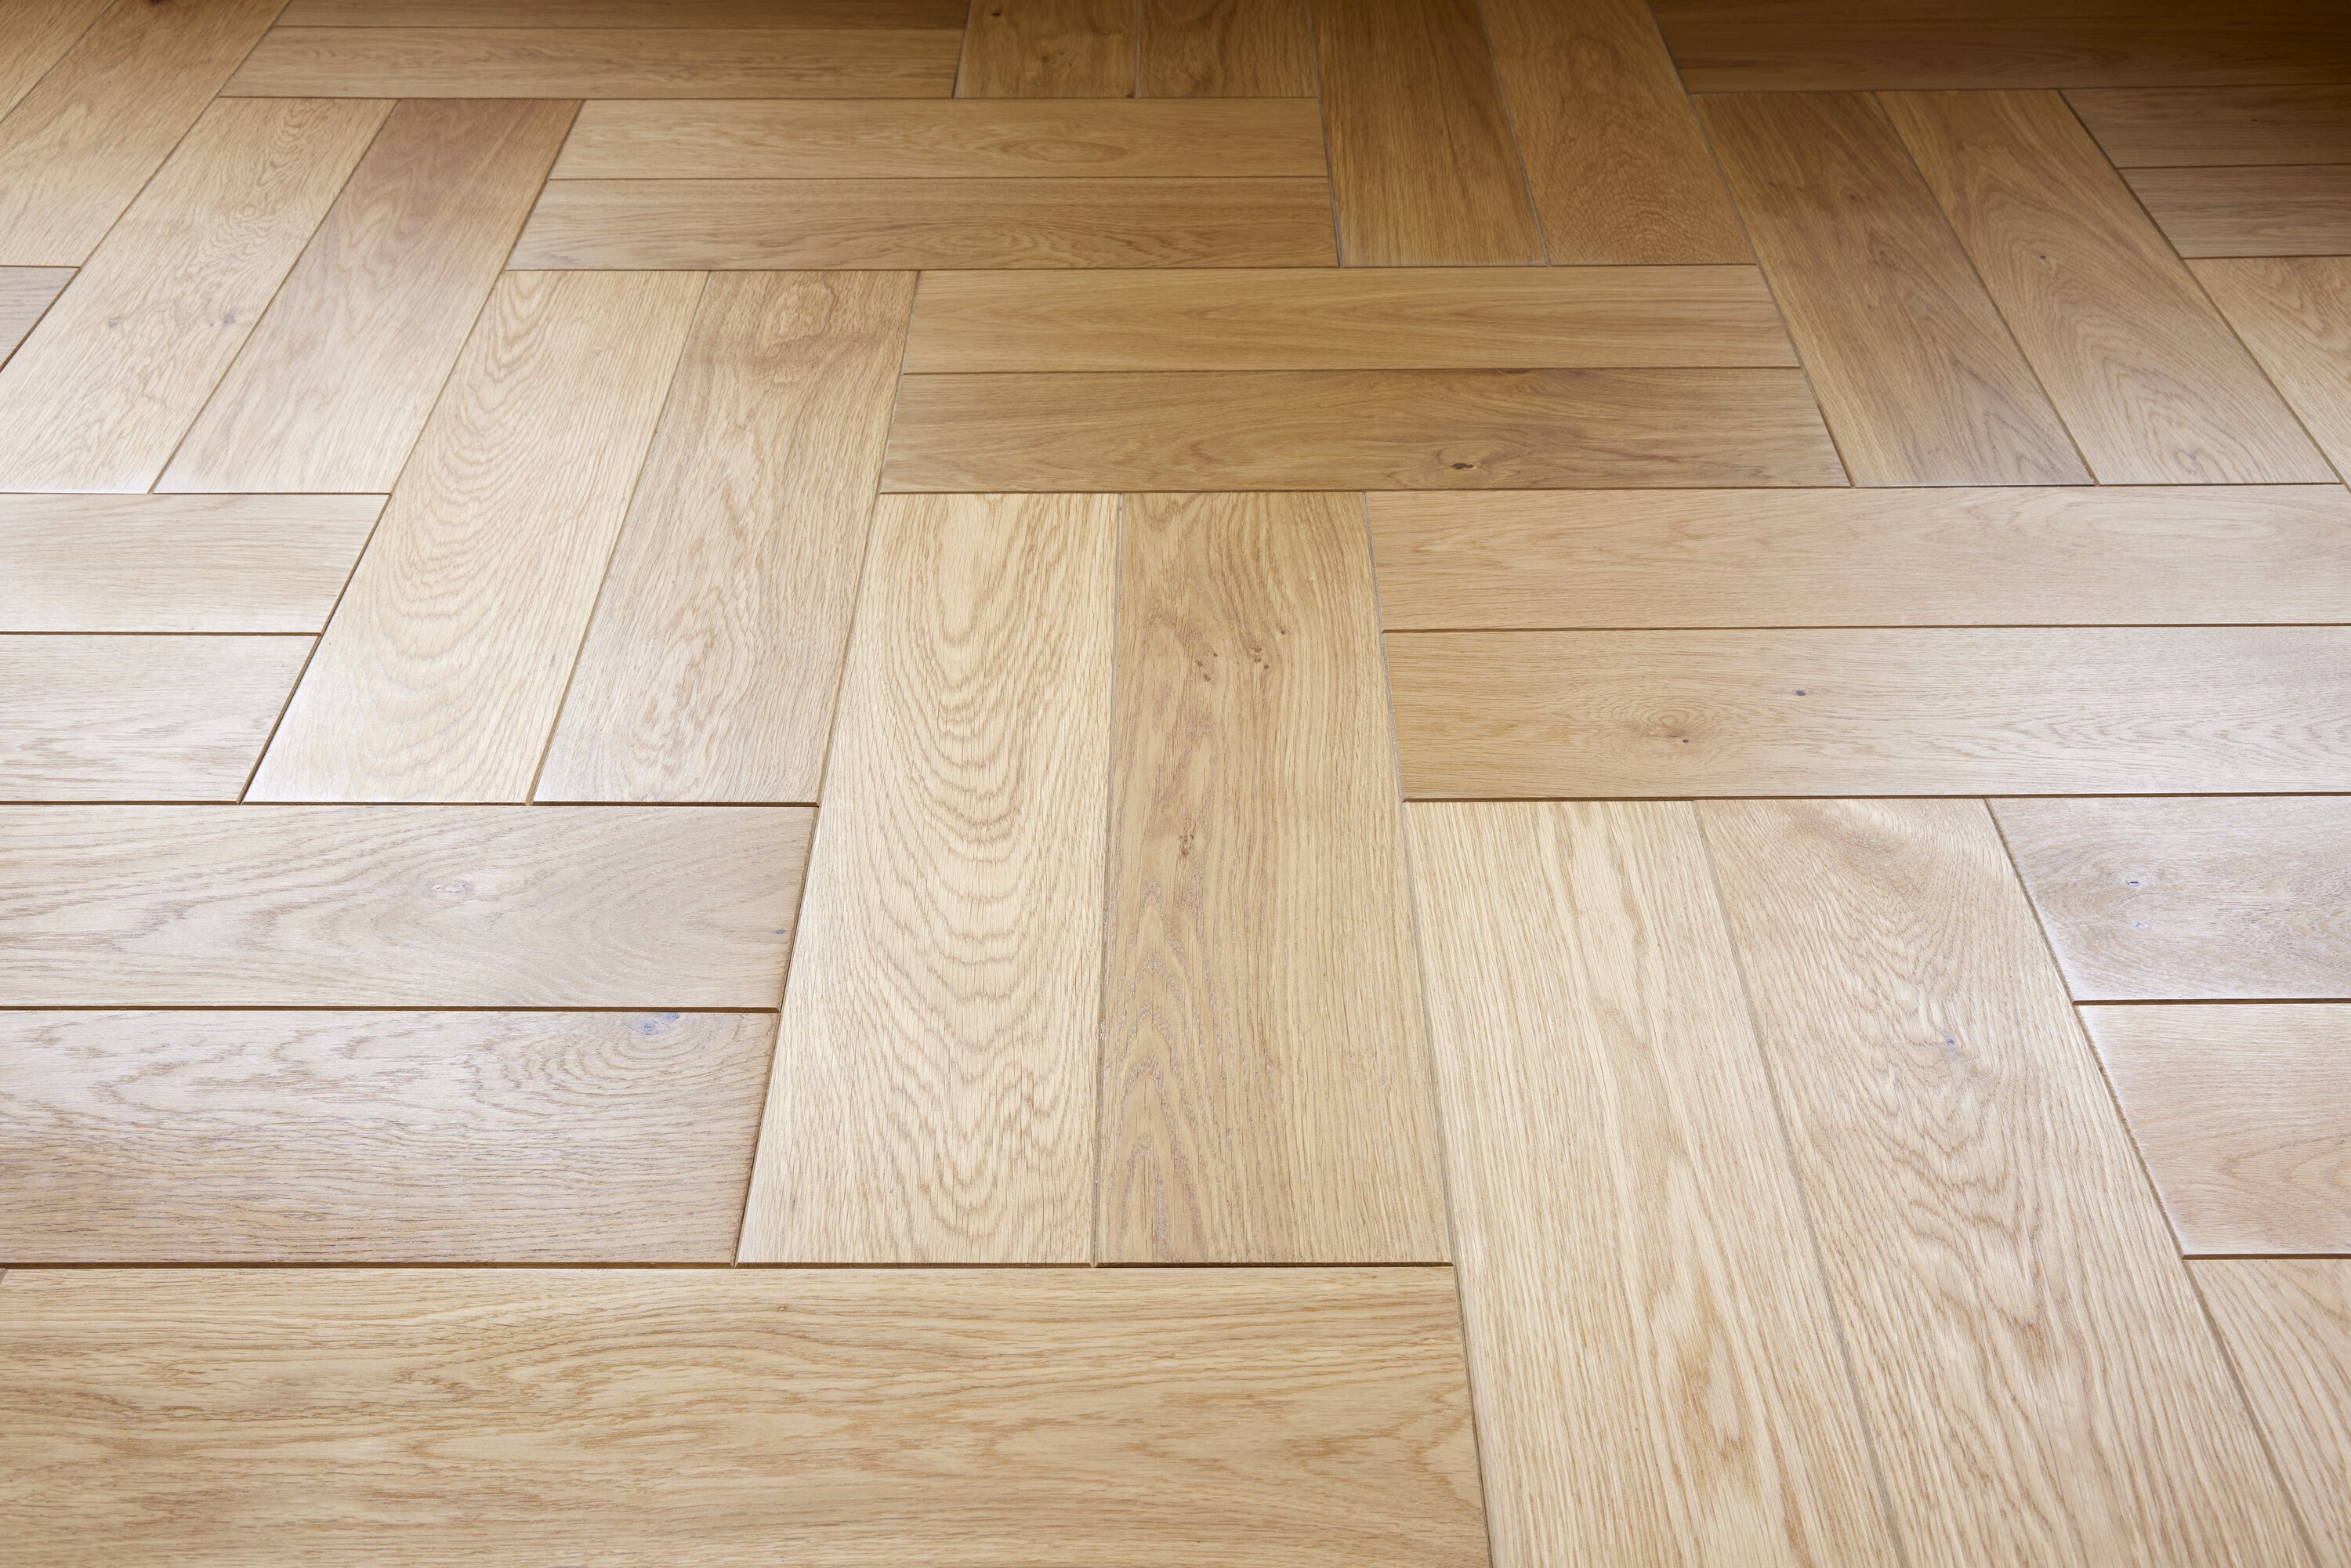
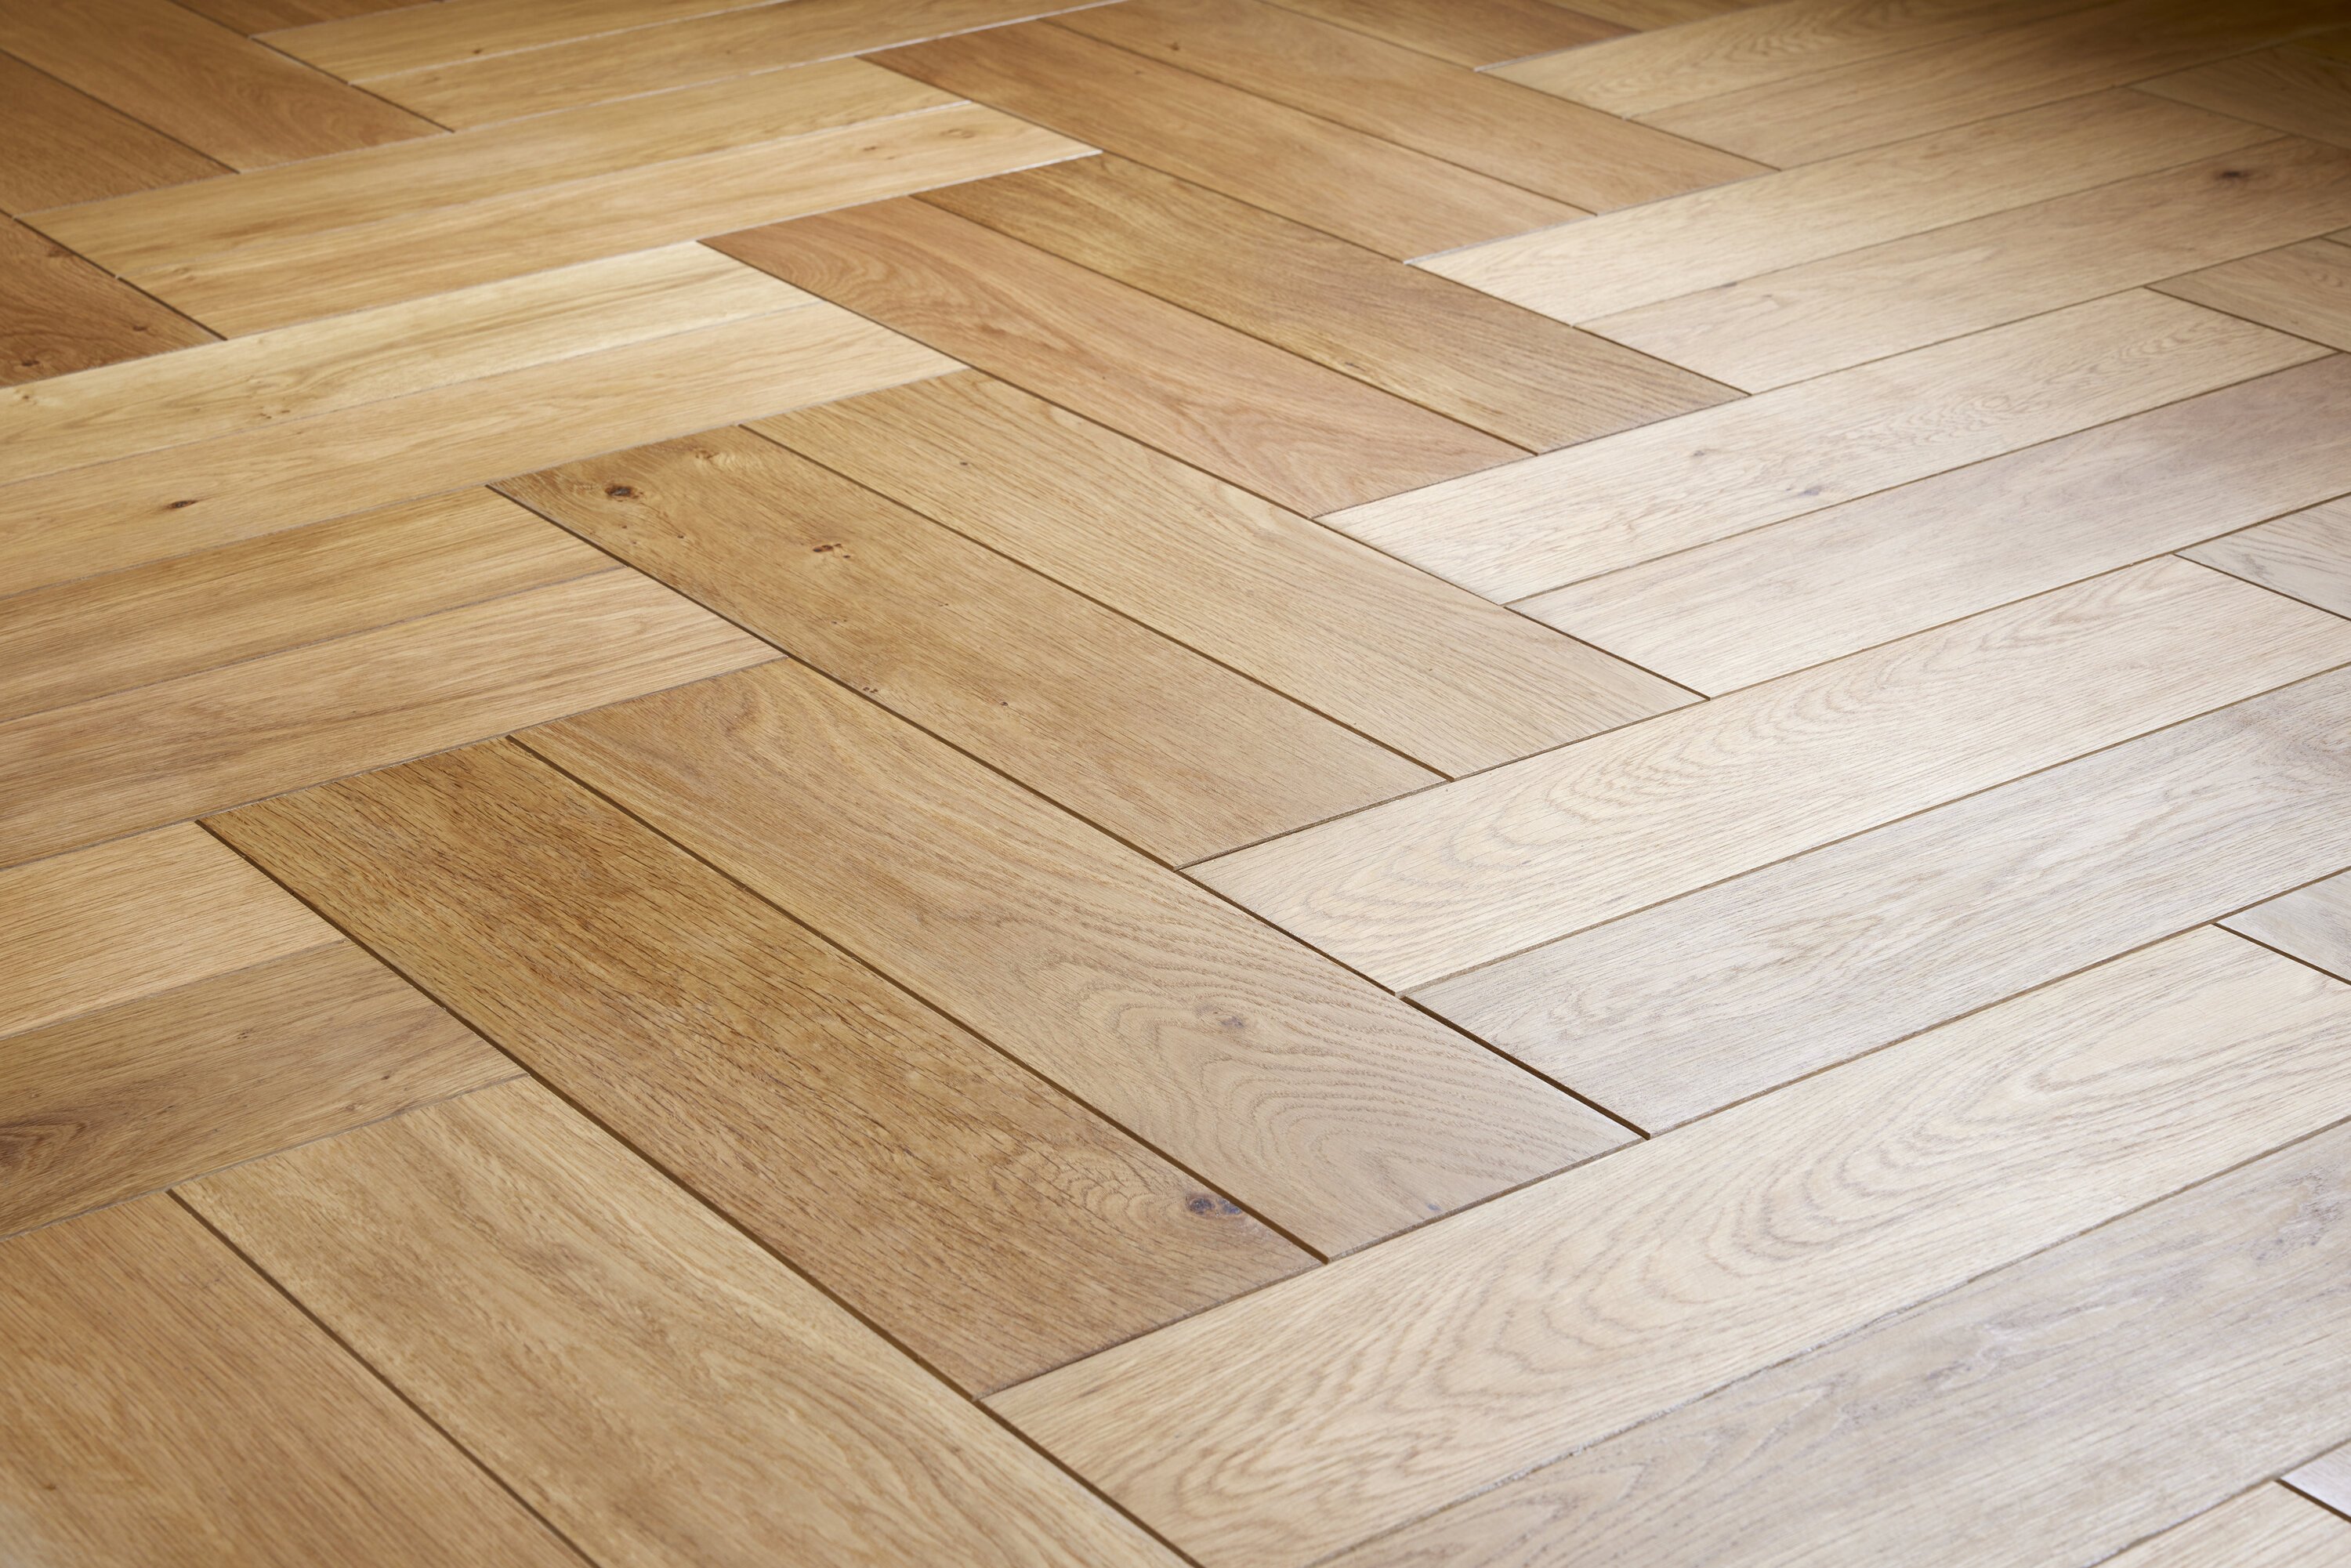
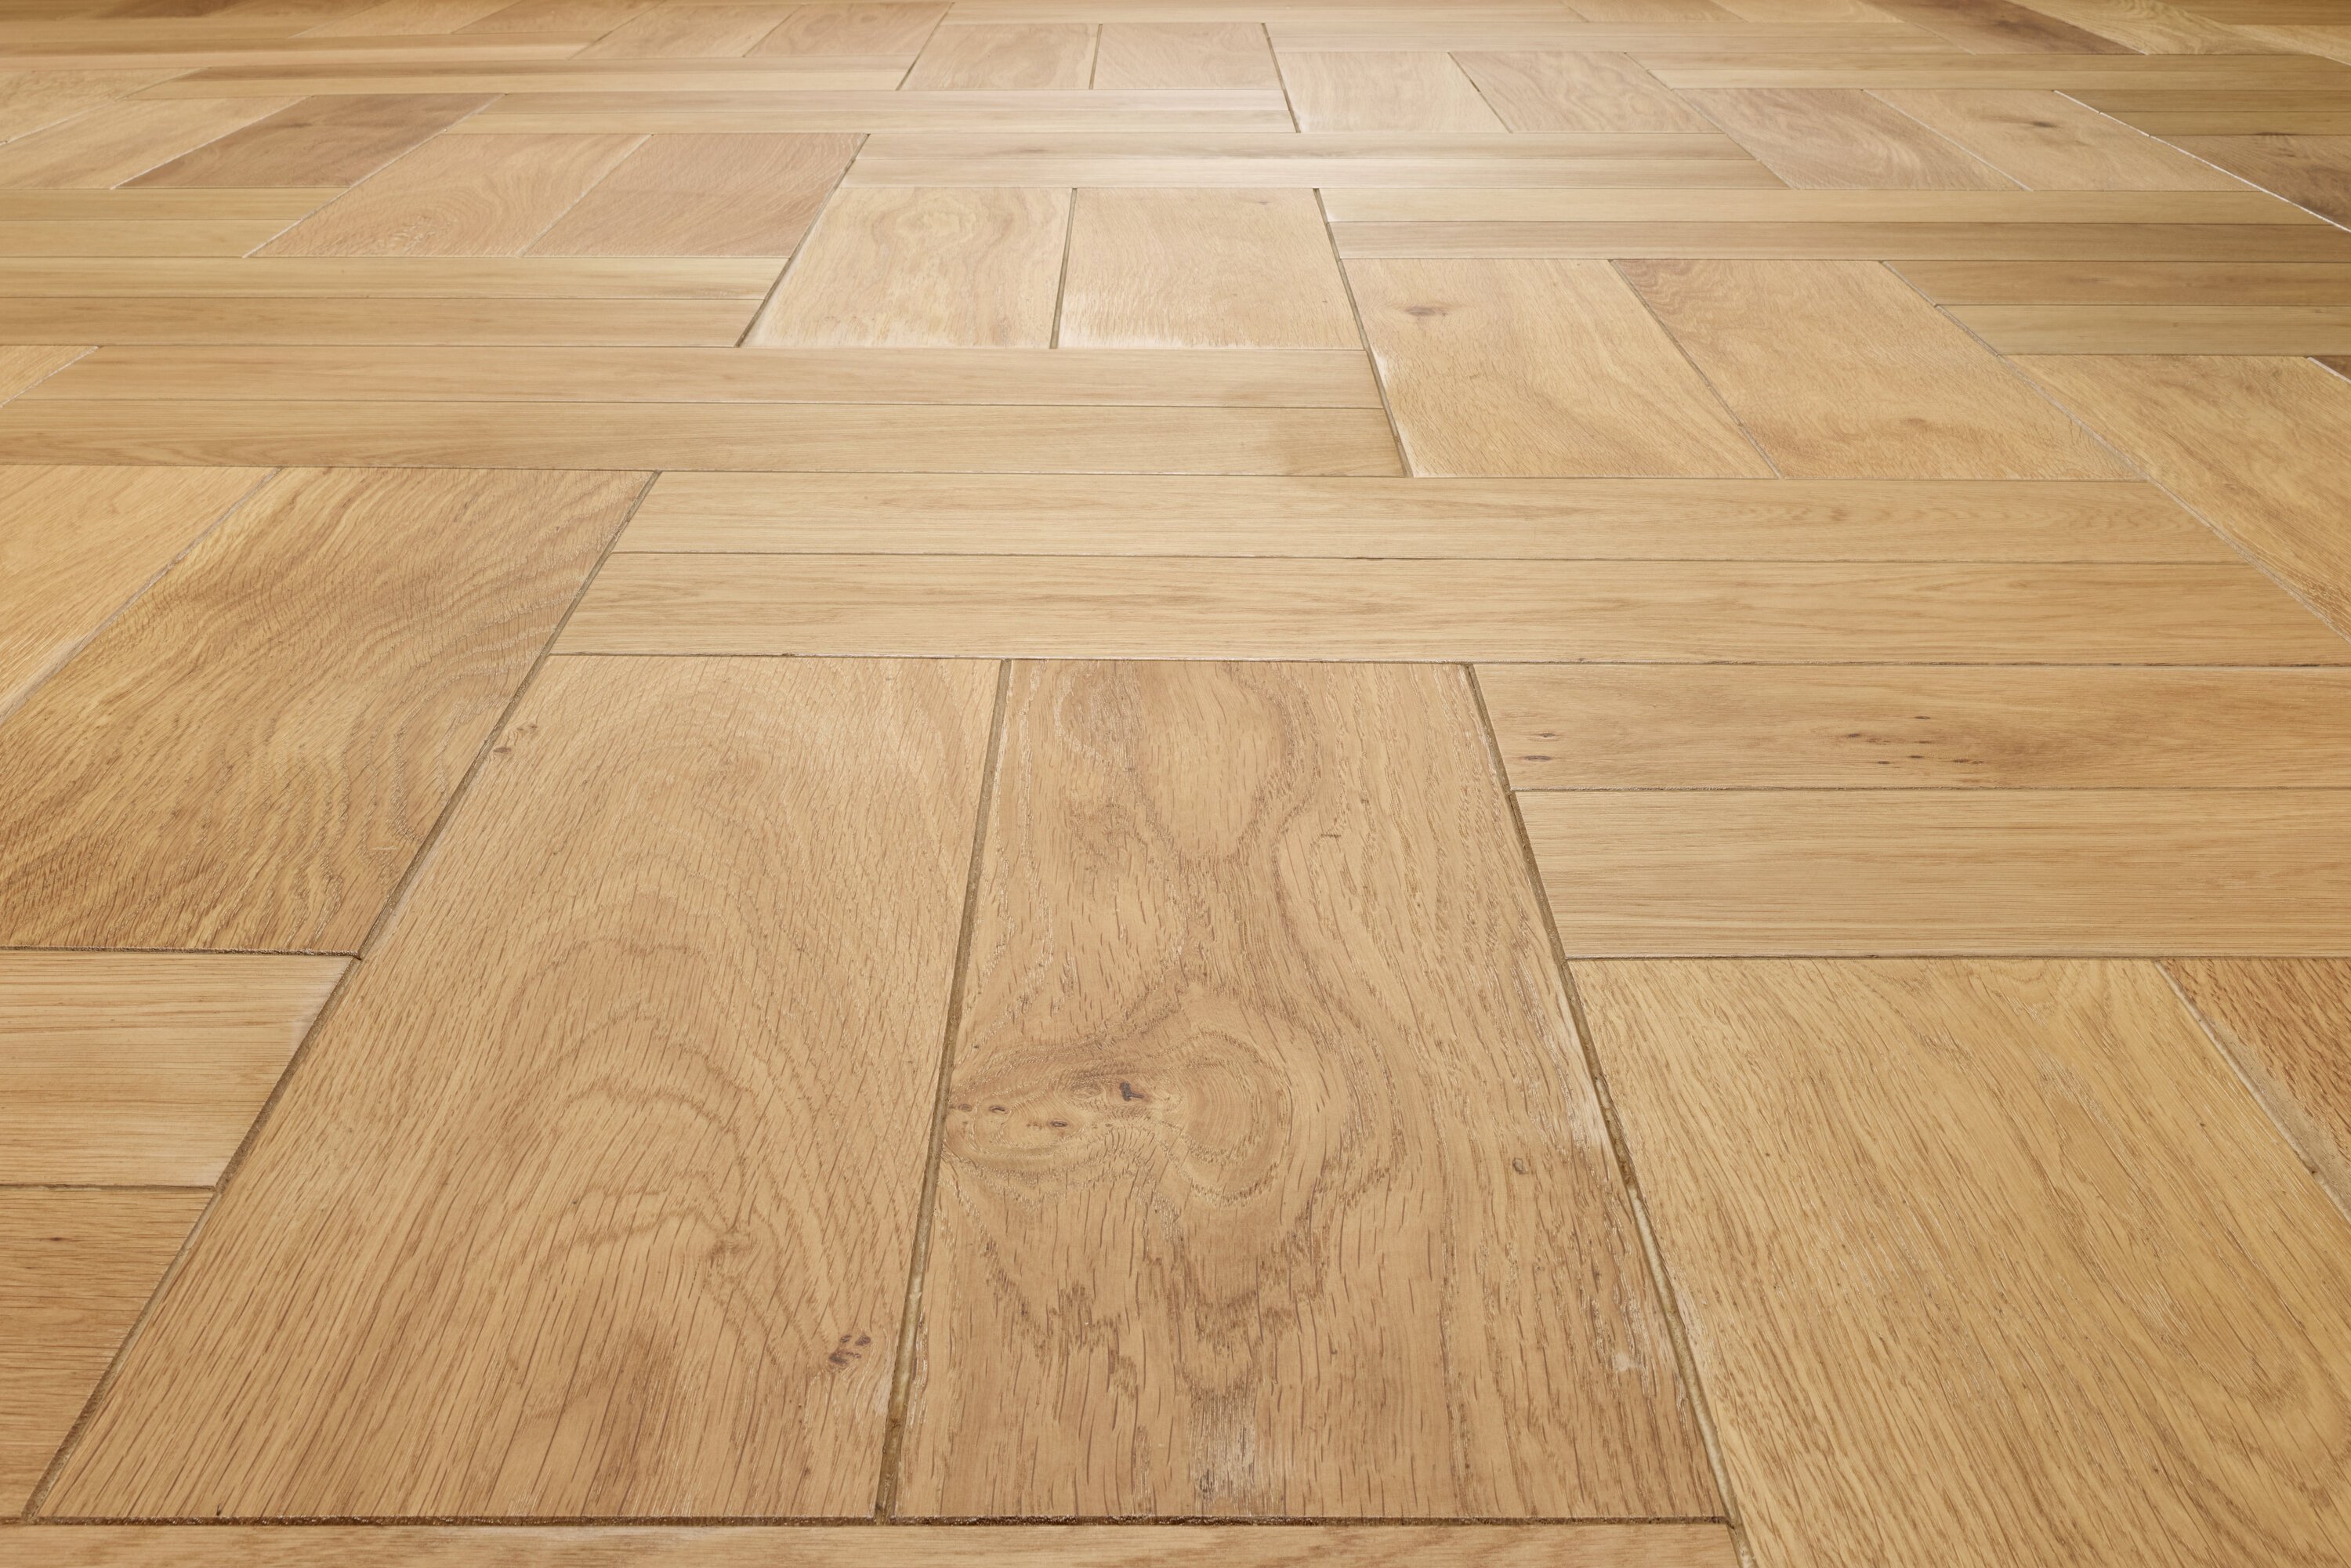
Not everyone is fond of wooden floors. Sometimes I photograph homes with wooden flooring, only to hear later that the floor ended up in a container. Of course, I also know stories of people who fall in love with a wooden floor—and it doesn’t always have to be a new one. For marketing and promotional purposes, I photographed and filmed the entire renovation process of this oak herringbone floor.
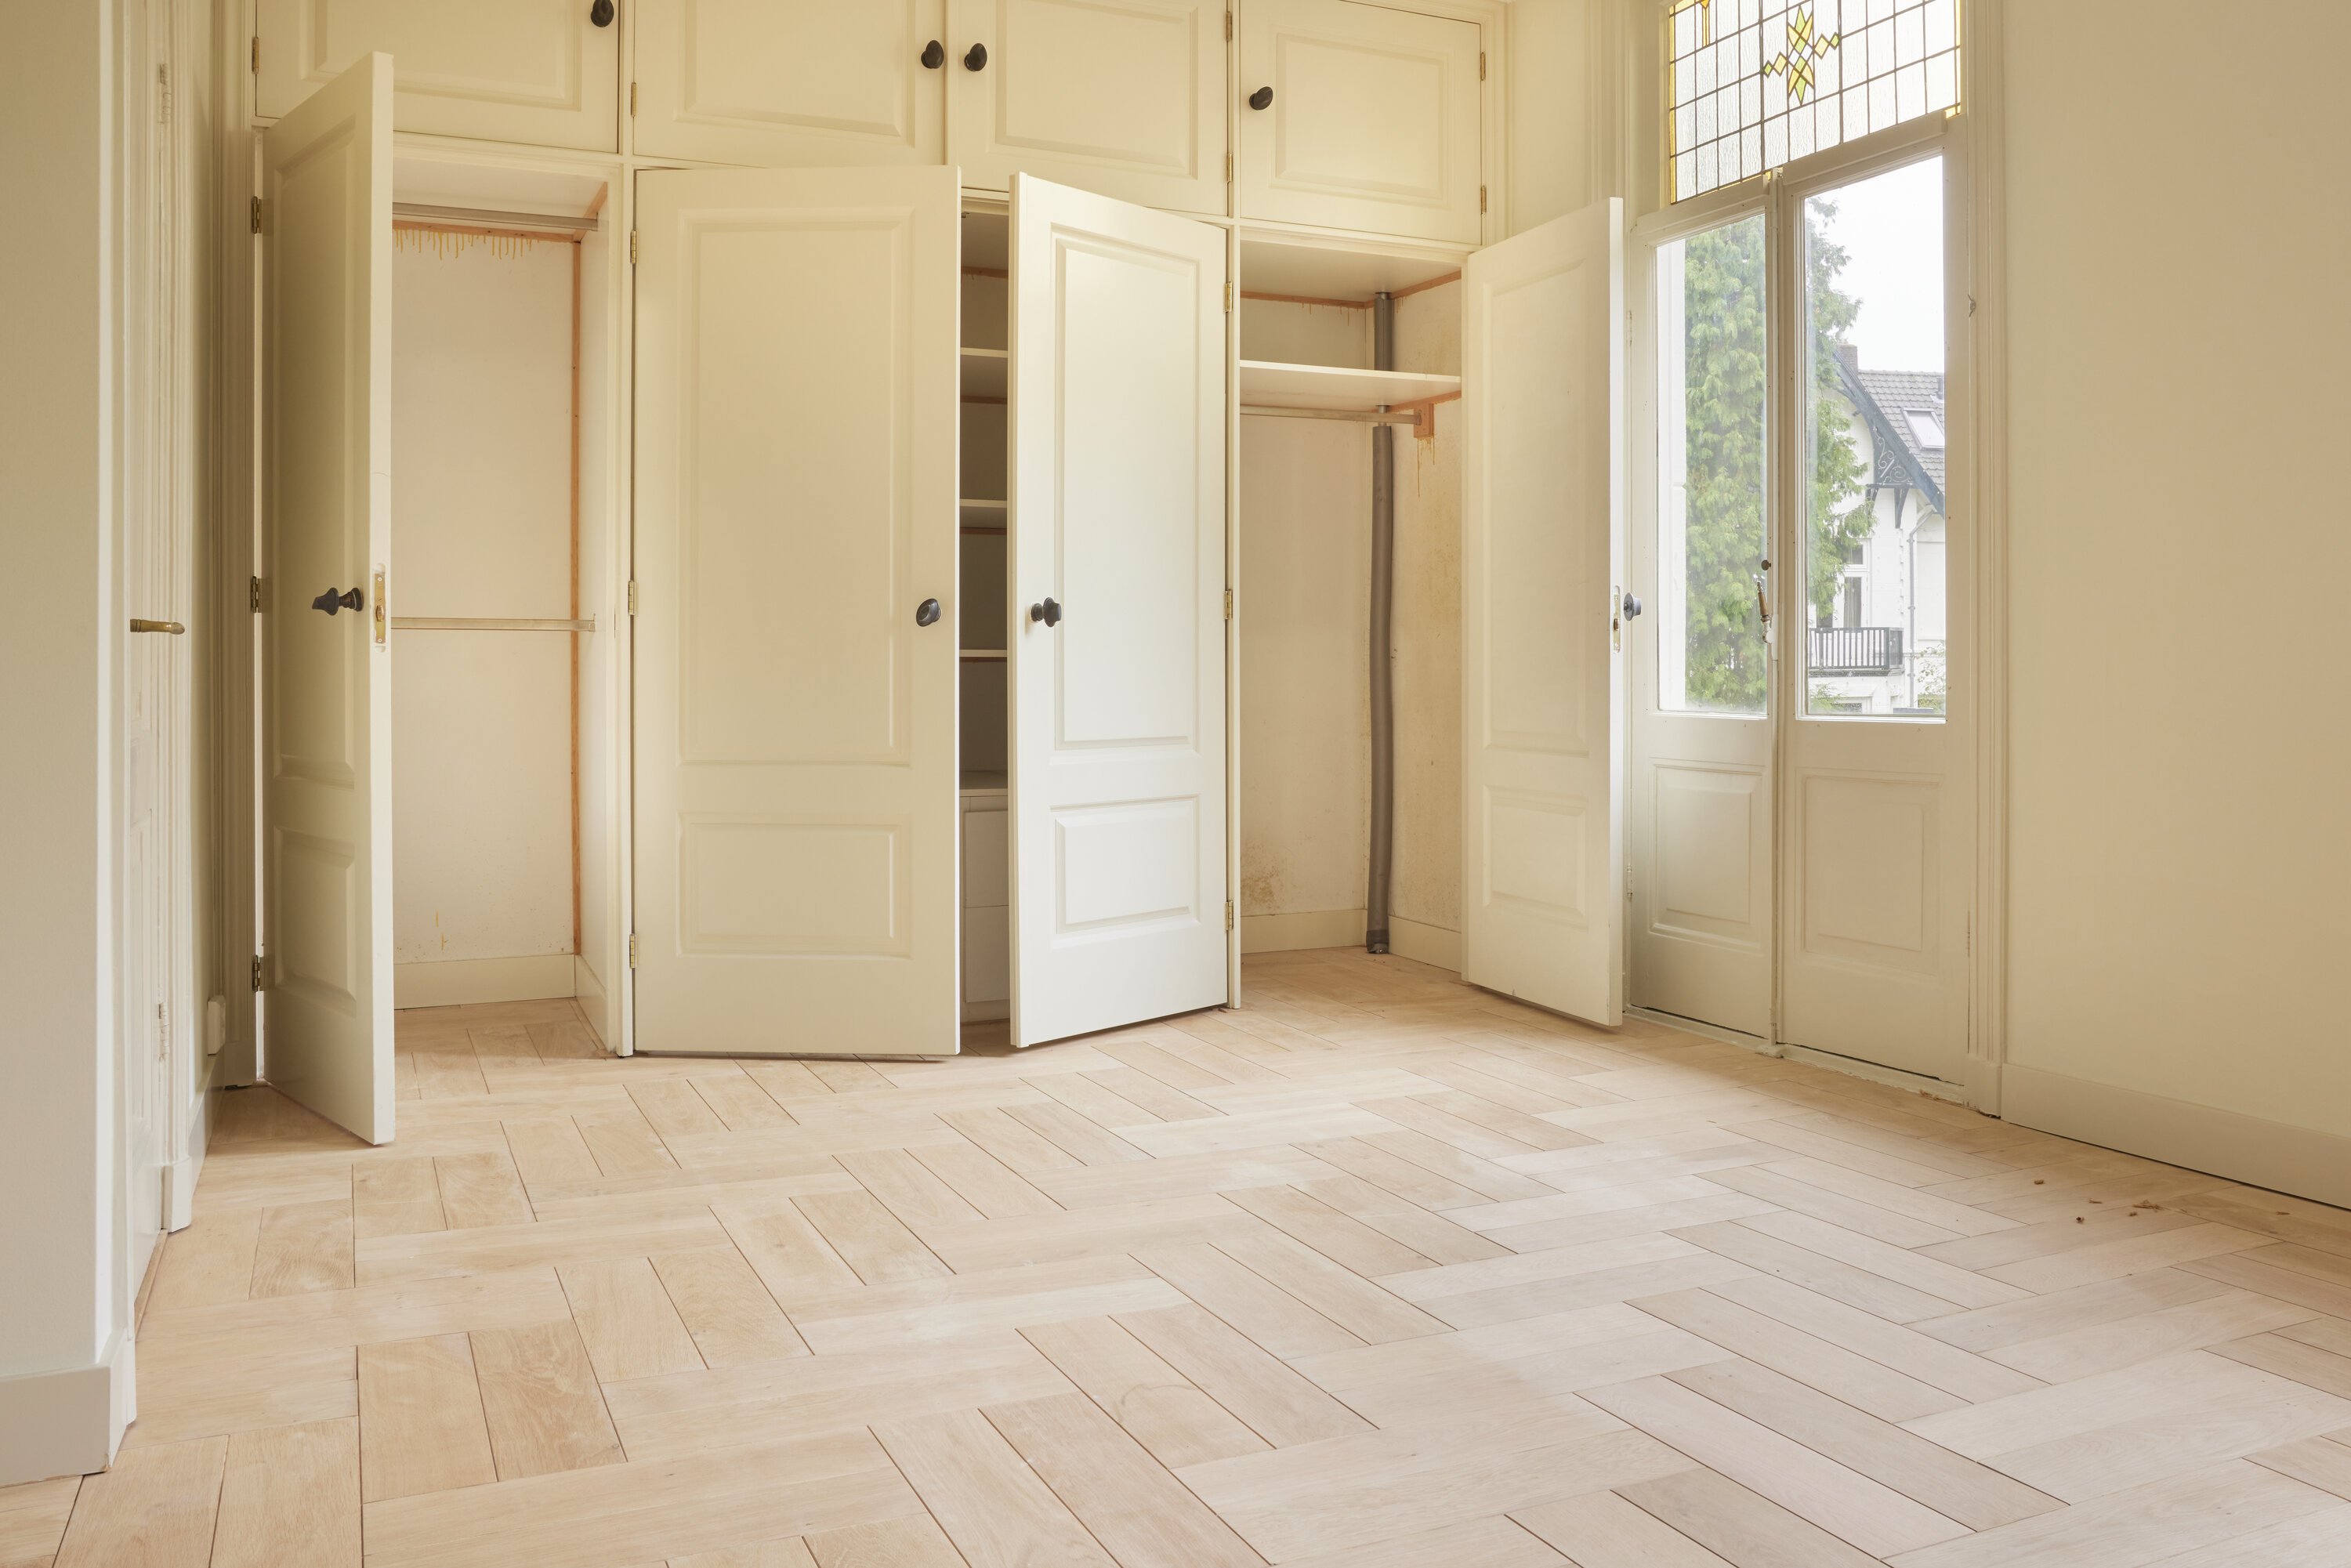
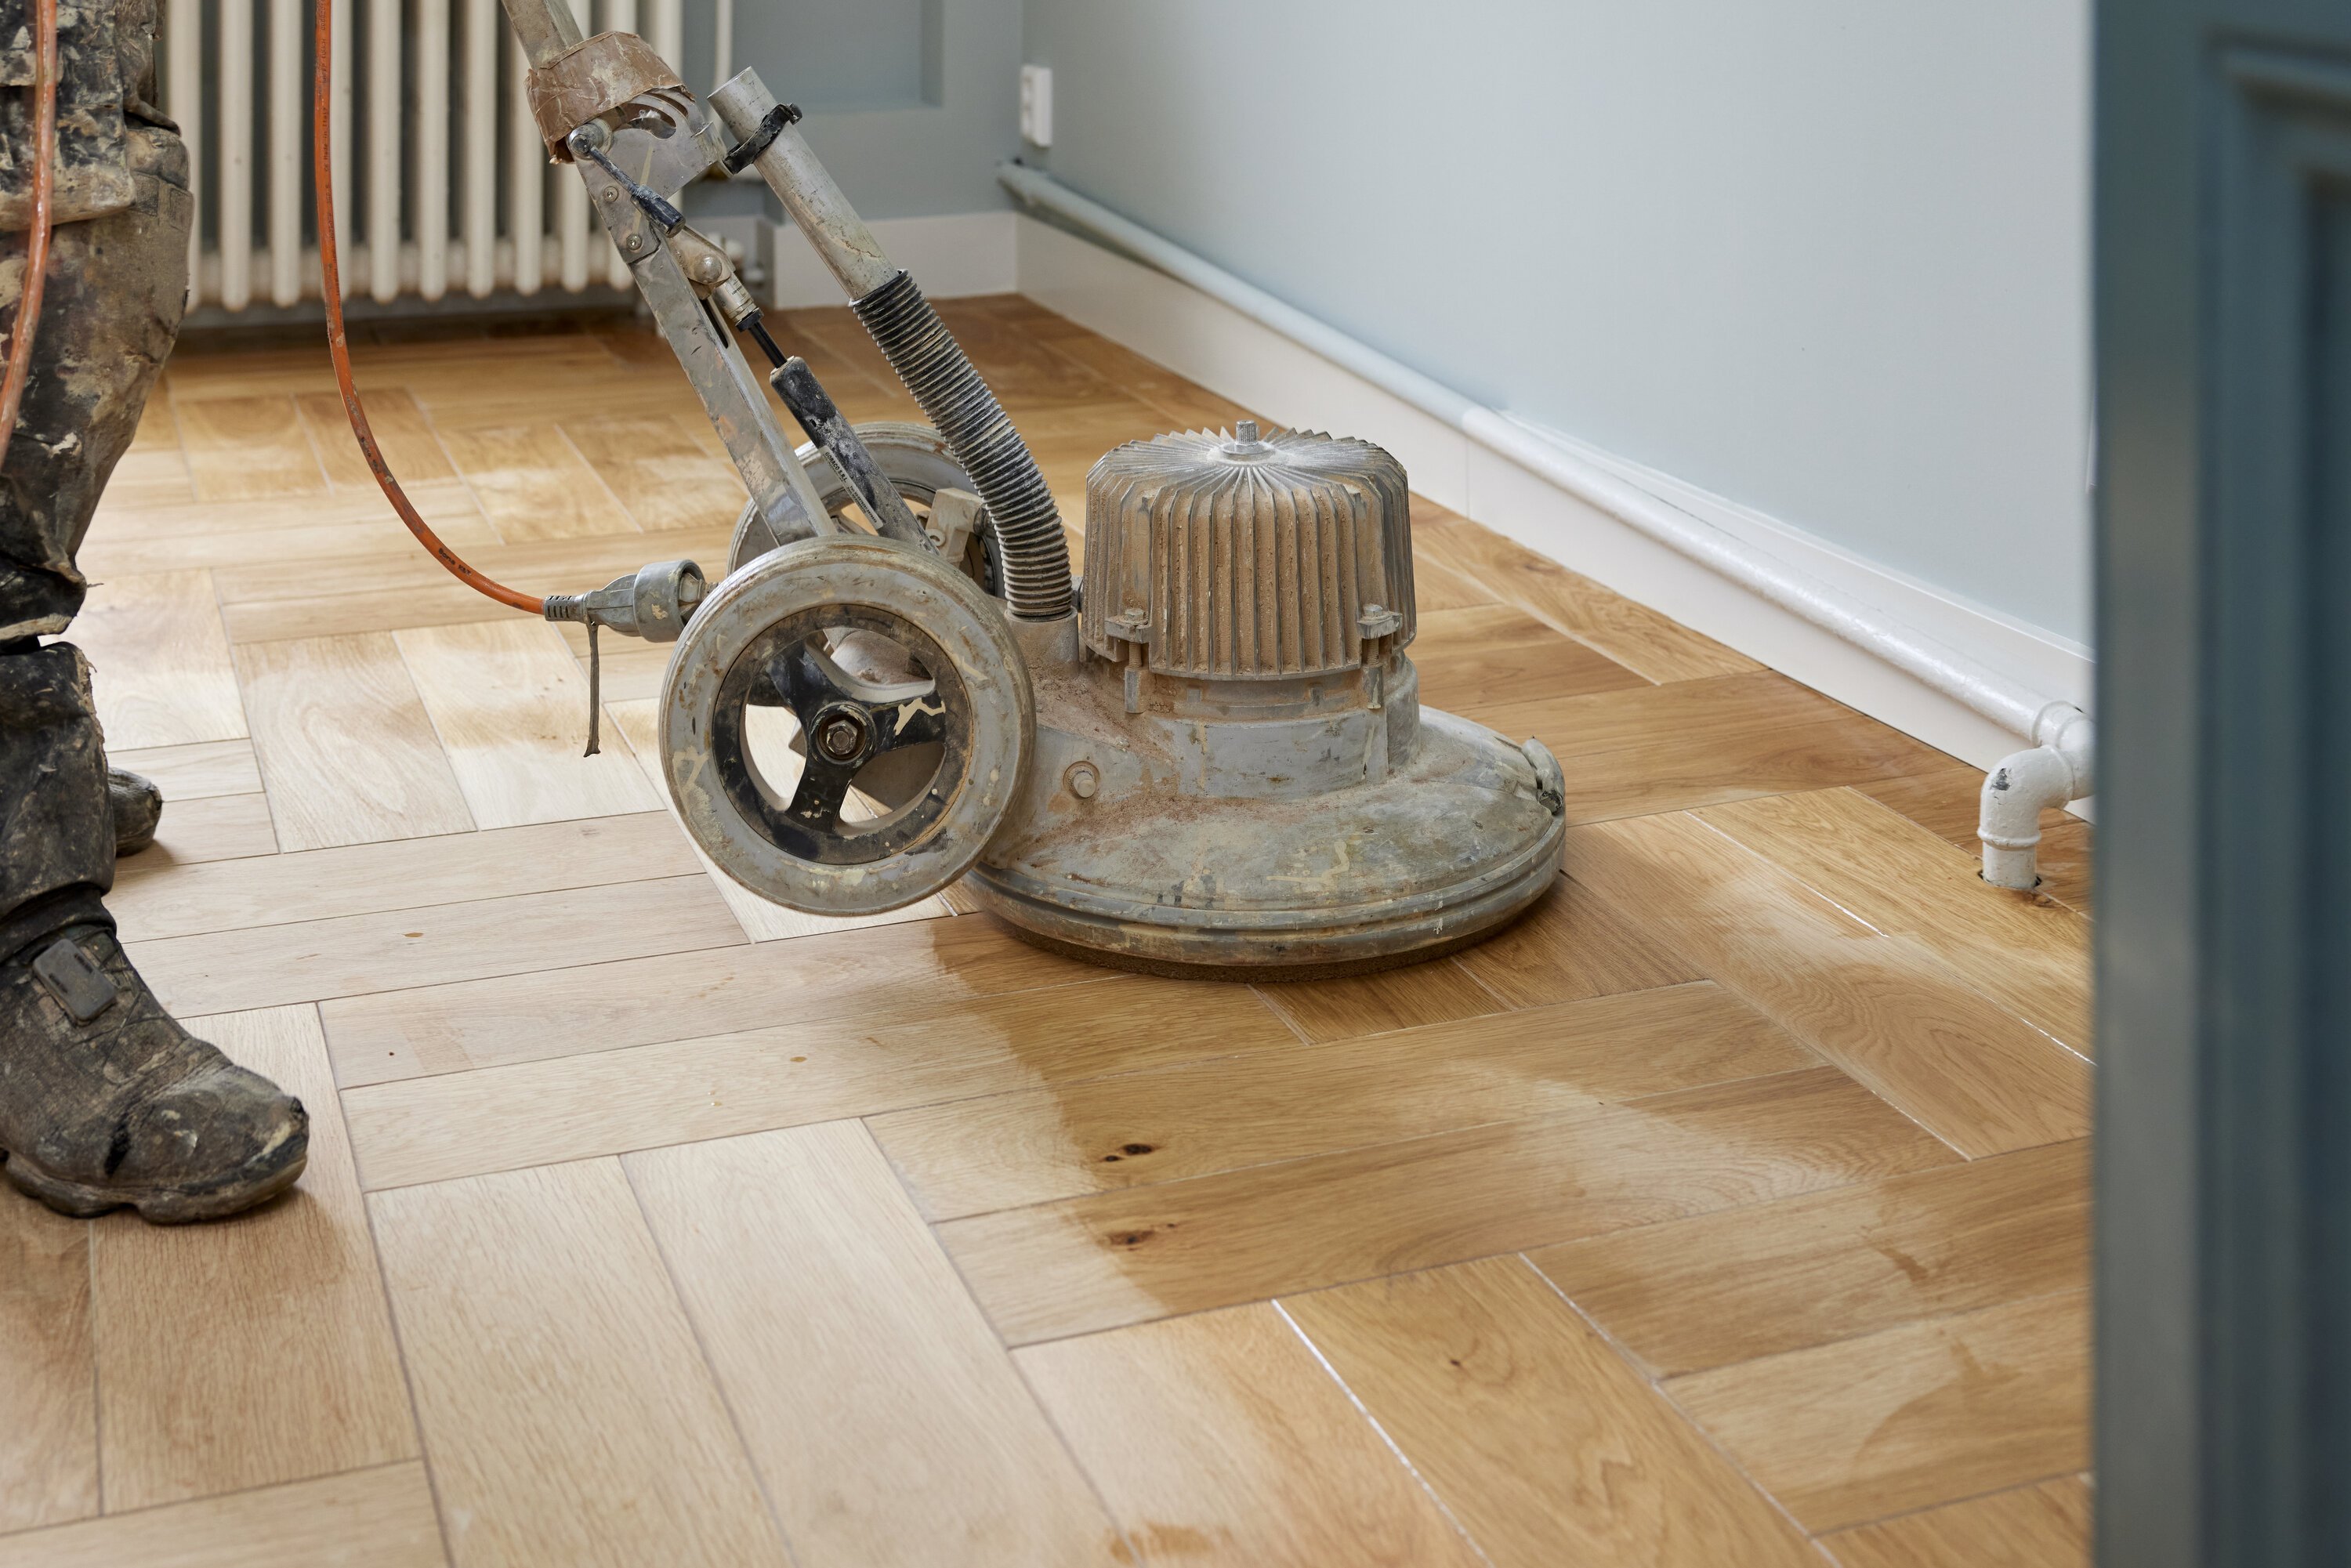
First, the rooms are cleared as much as possible. Heavy sanding and polishing machines will be used later, so it’s best for items like the coffee table to be moved elsewhere. Once the rooms are (mostly) empty, the following work can begin:
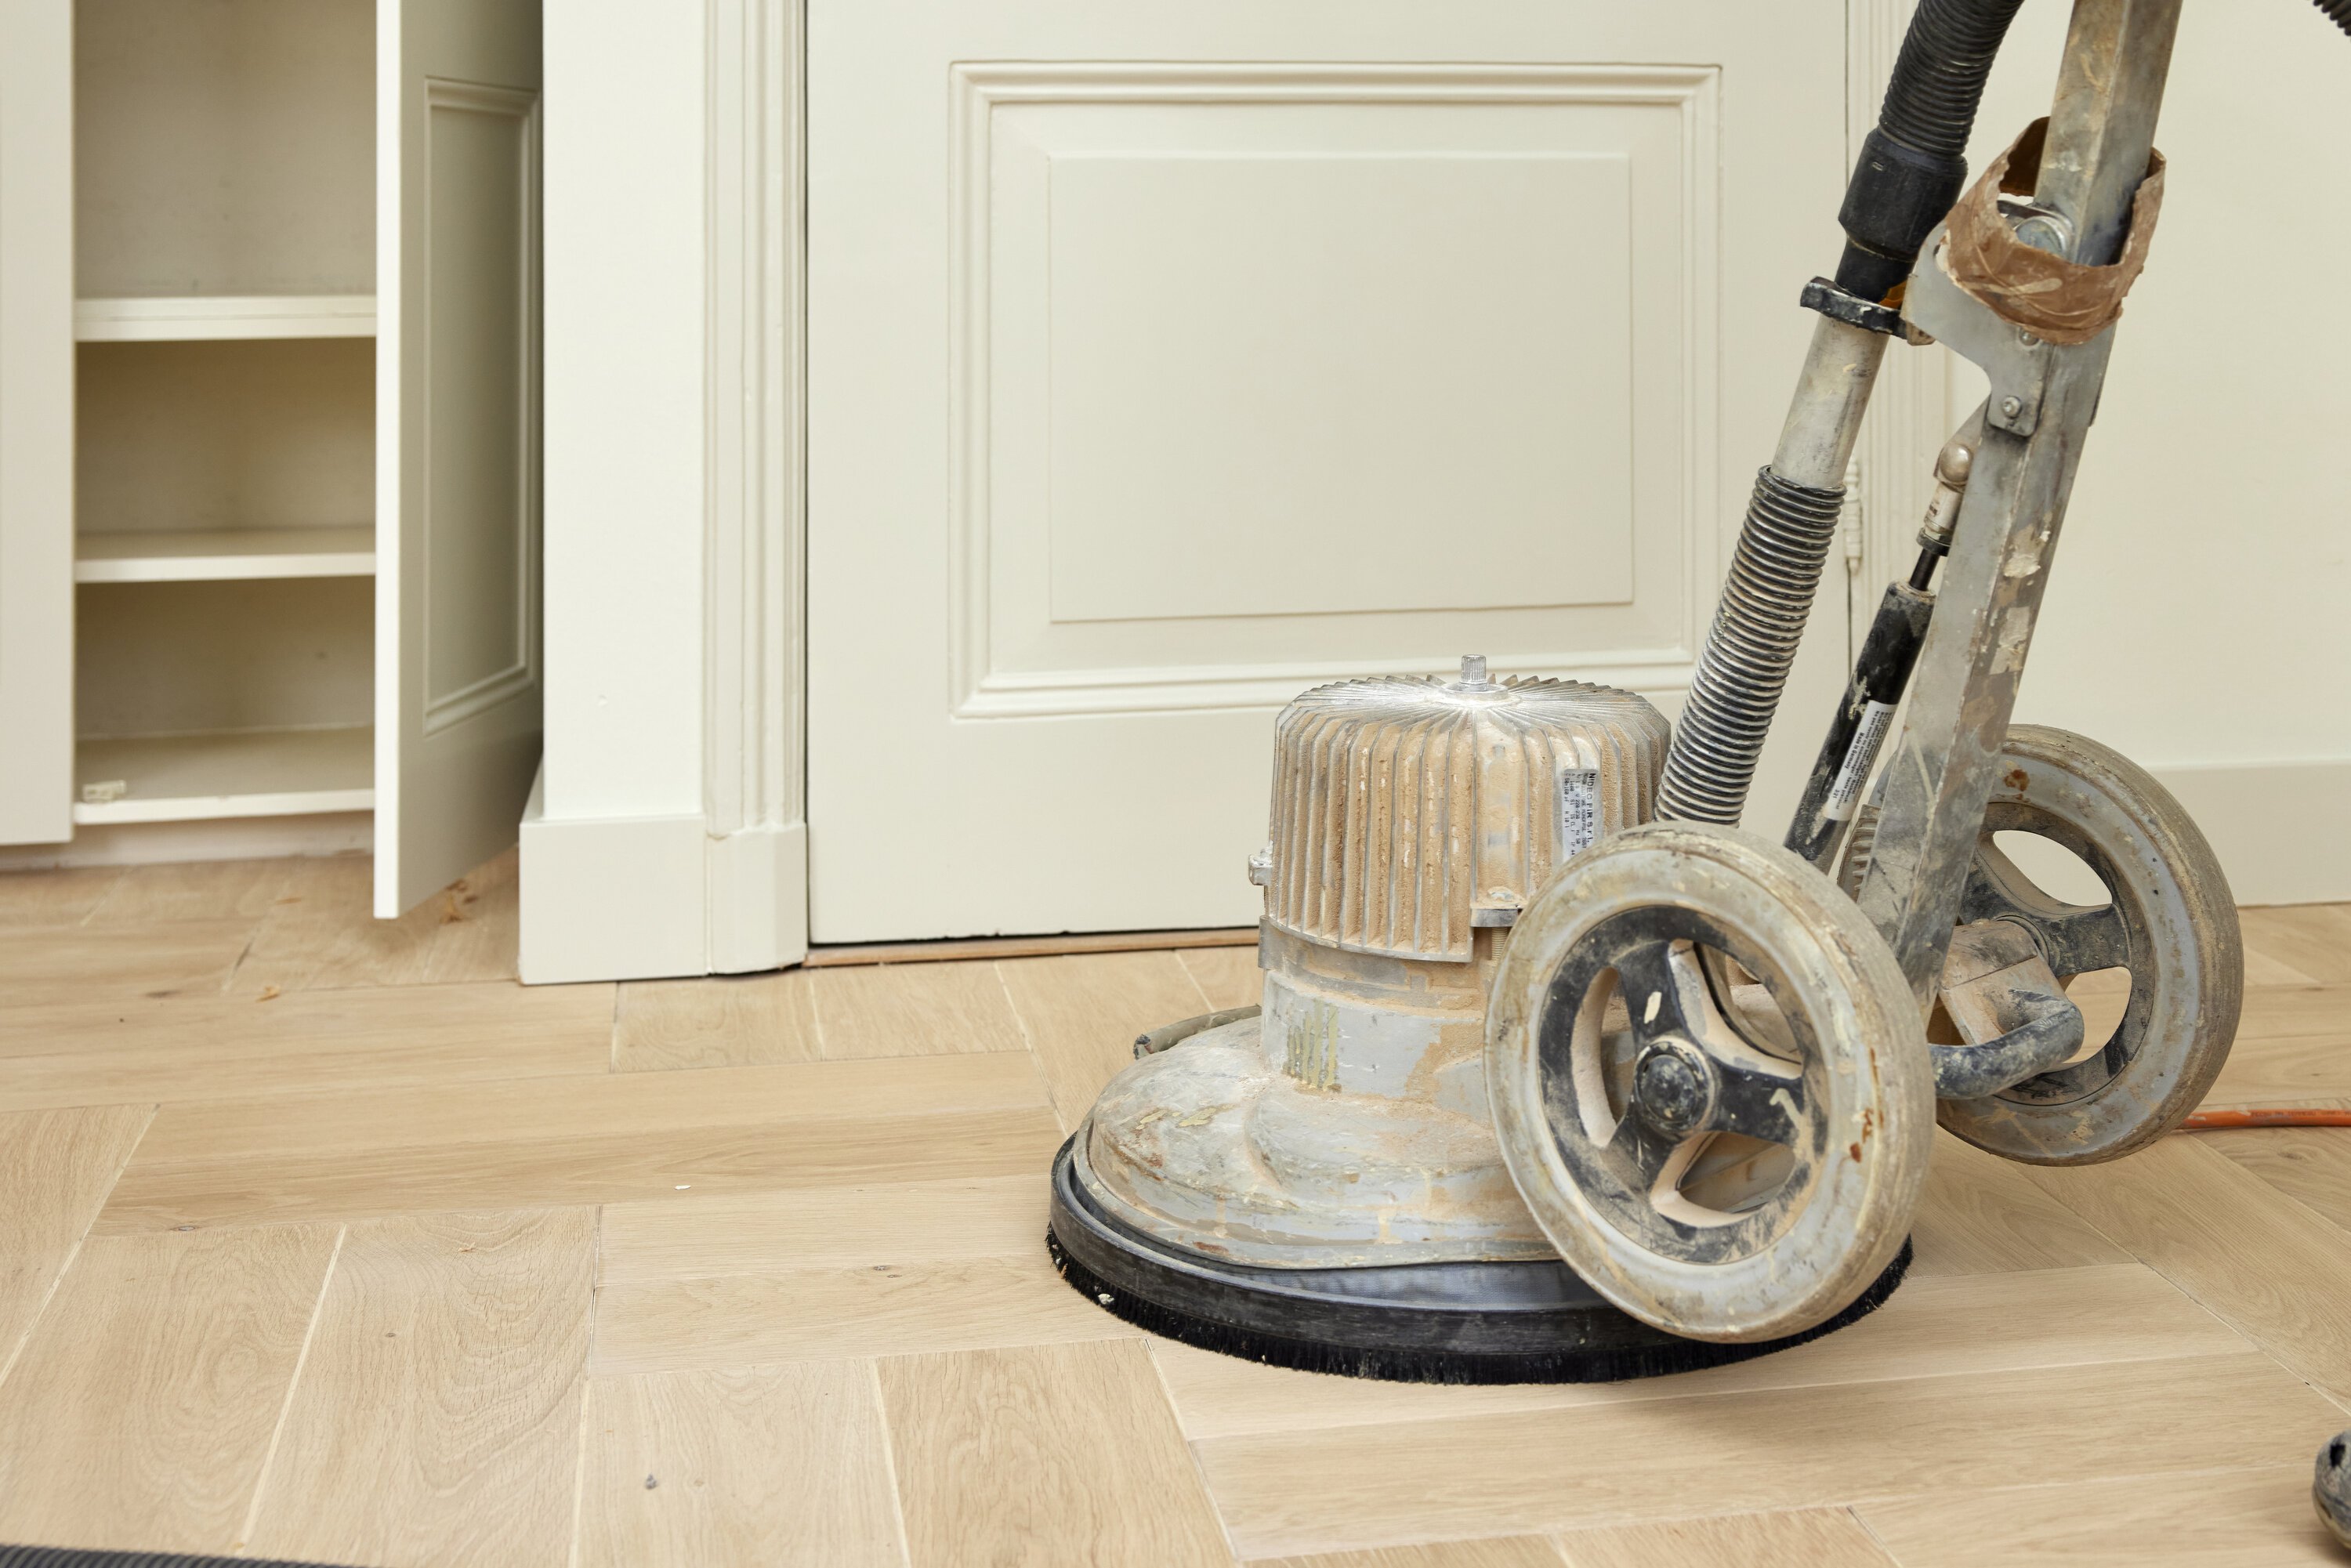
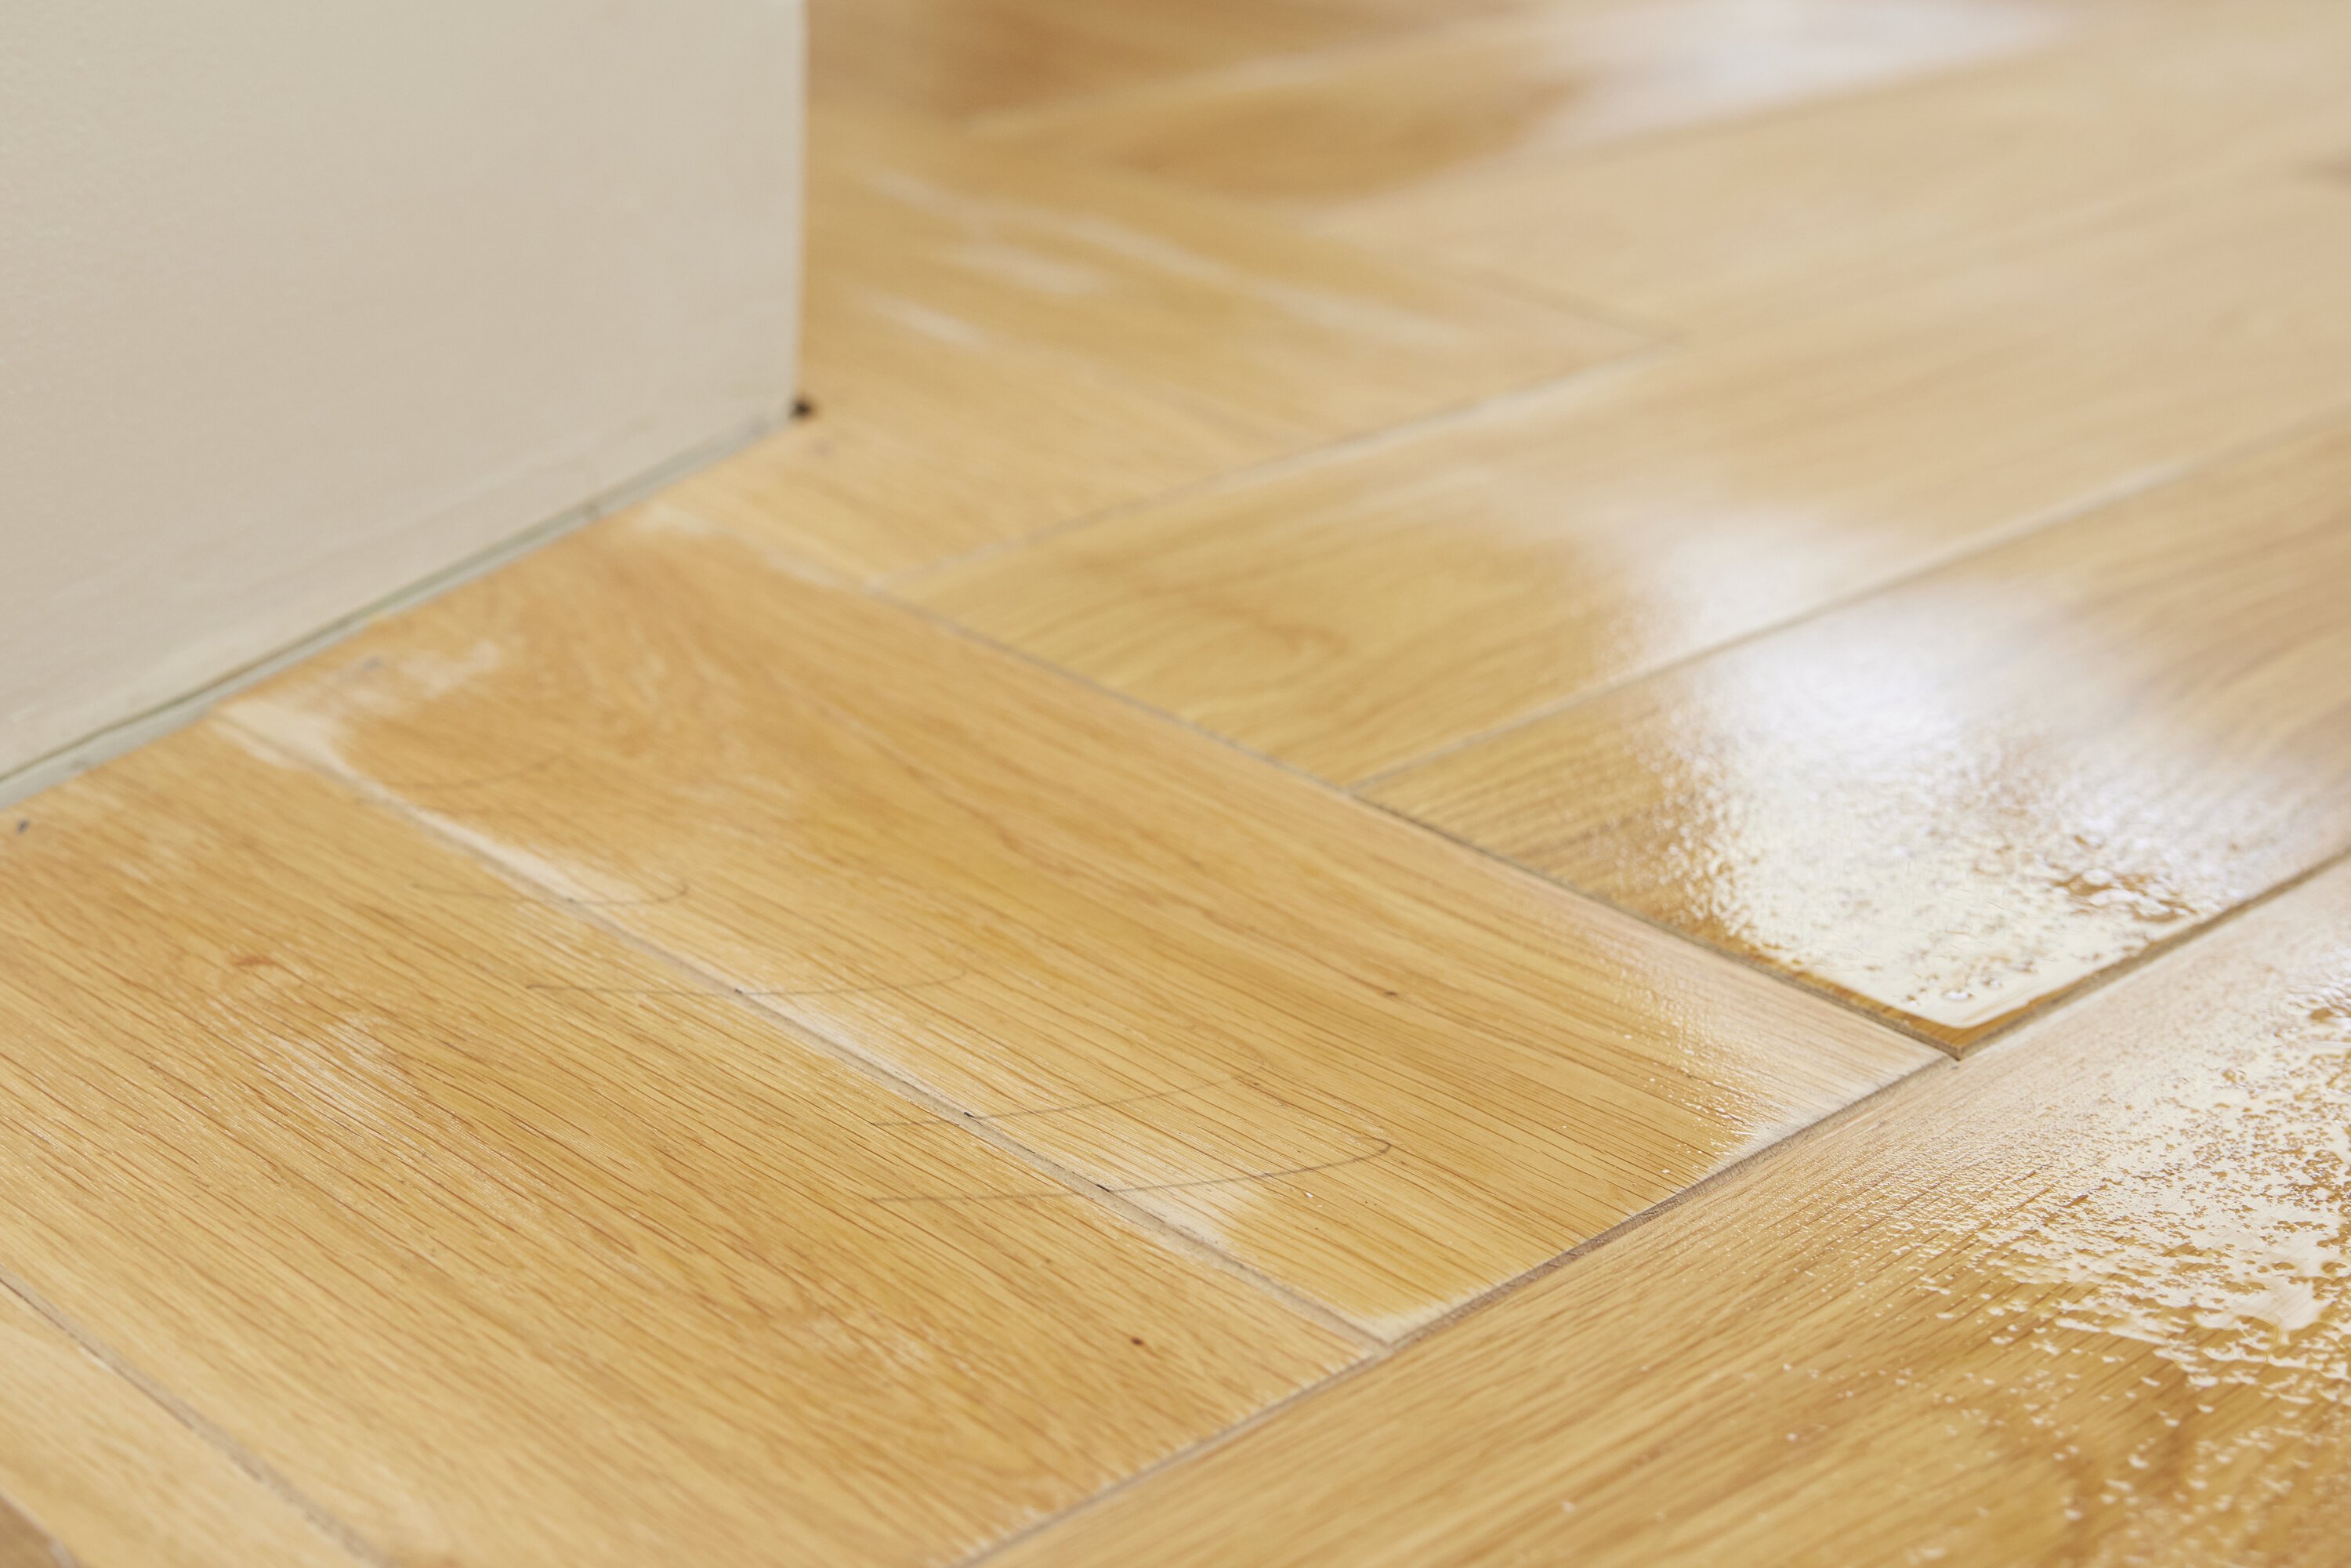
After polishing the wooden floor, the oil can be worked into the surface. More than forty different colour options are available from brands such as Rubio Monocoat.
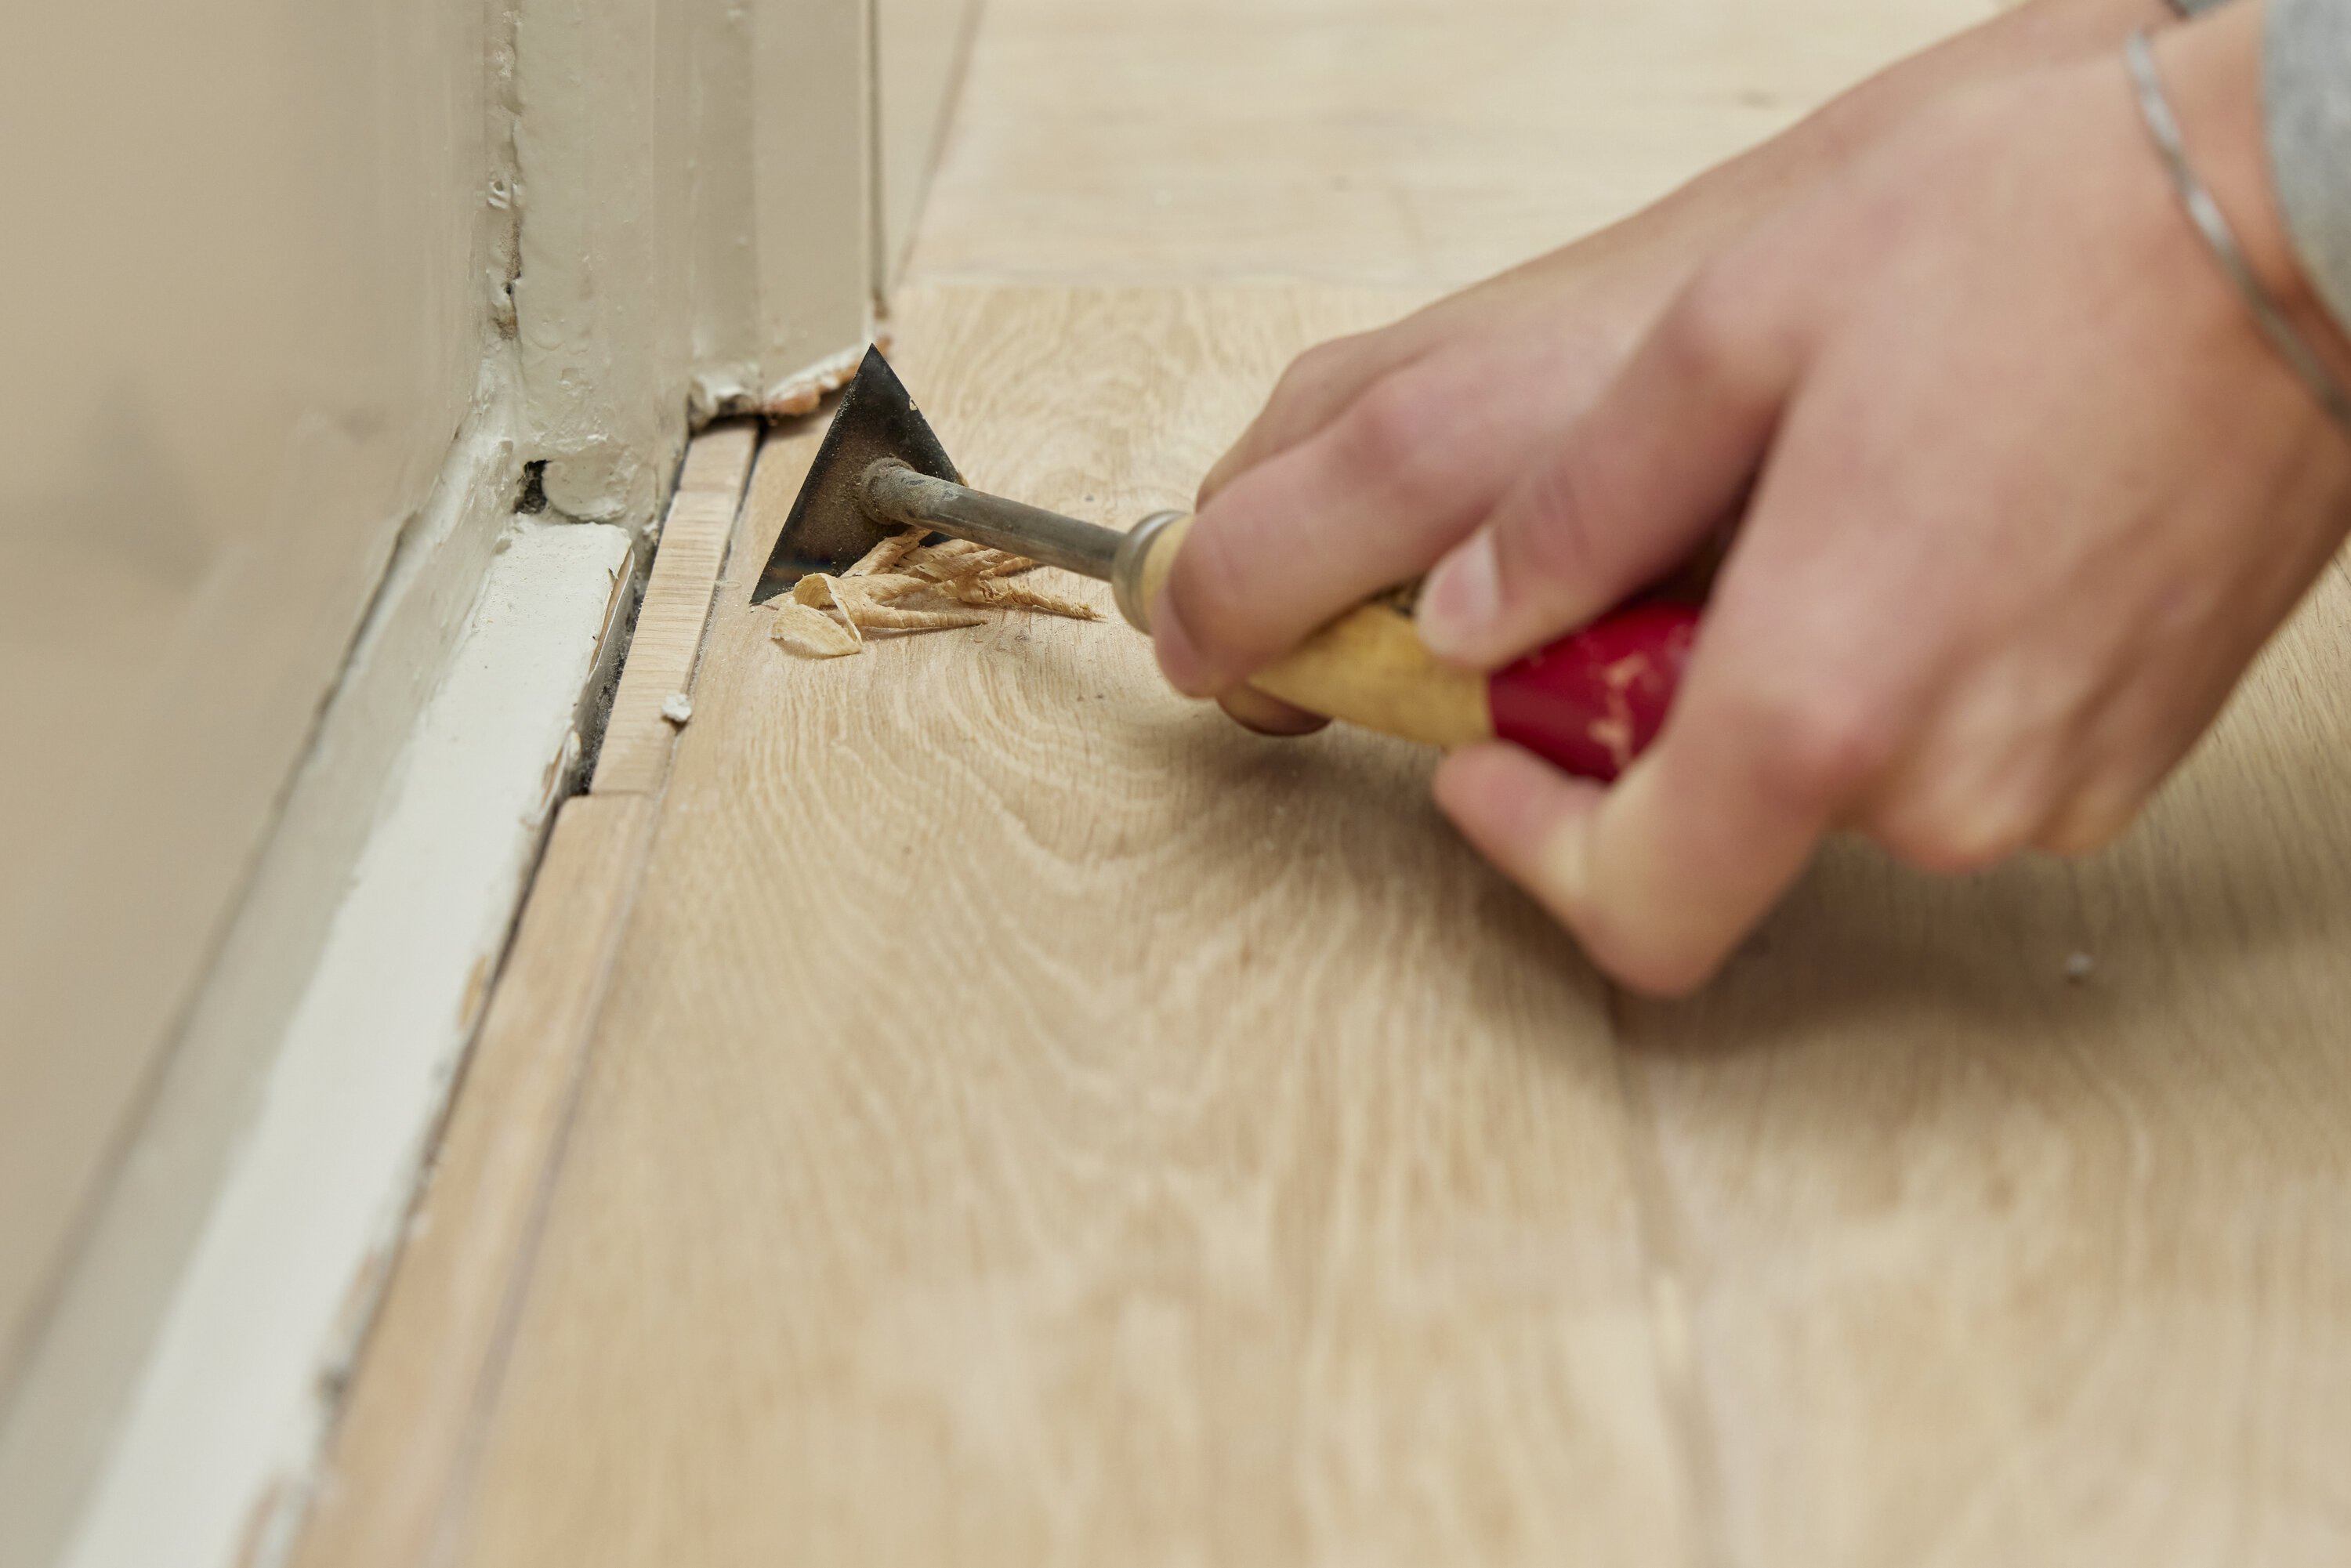
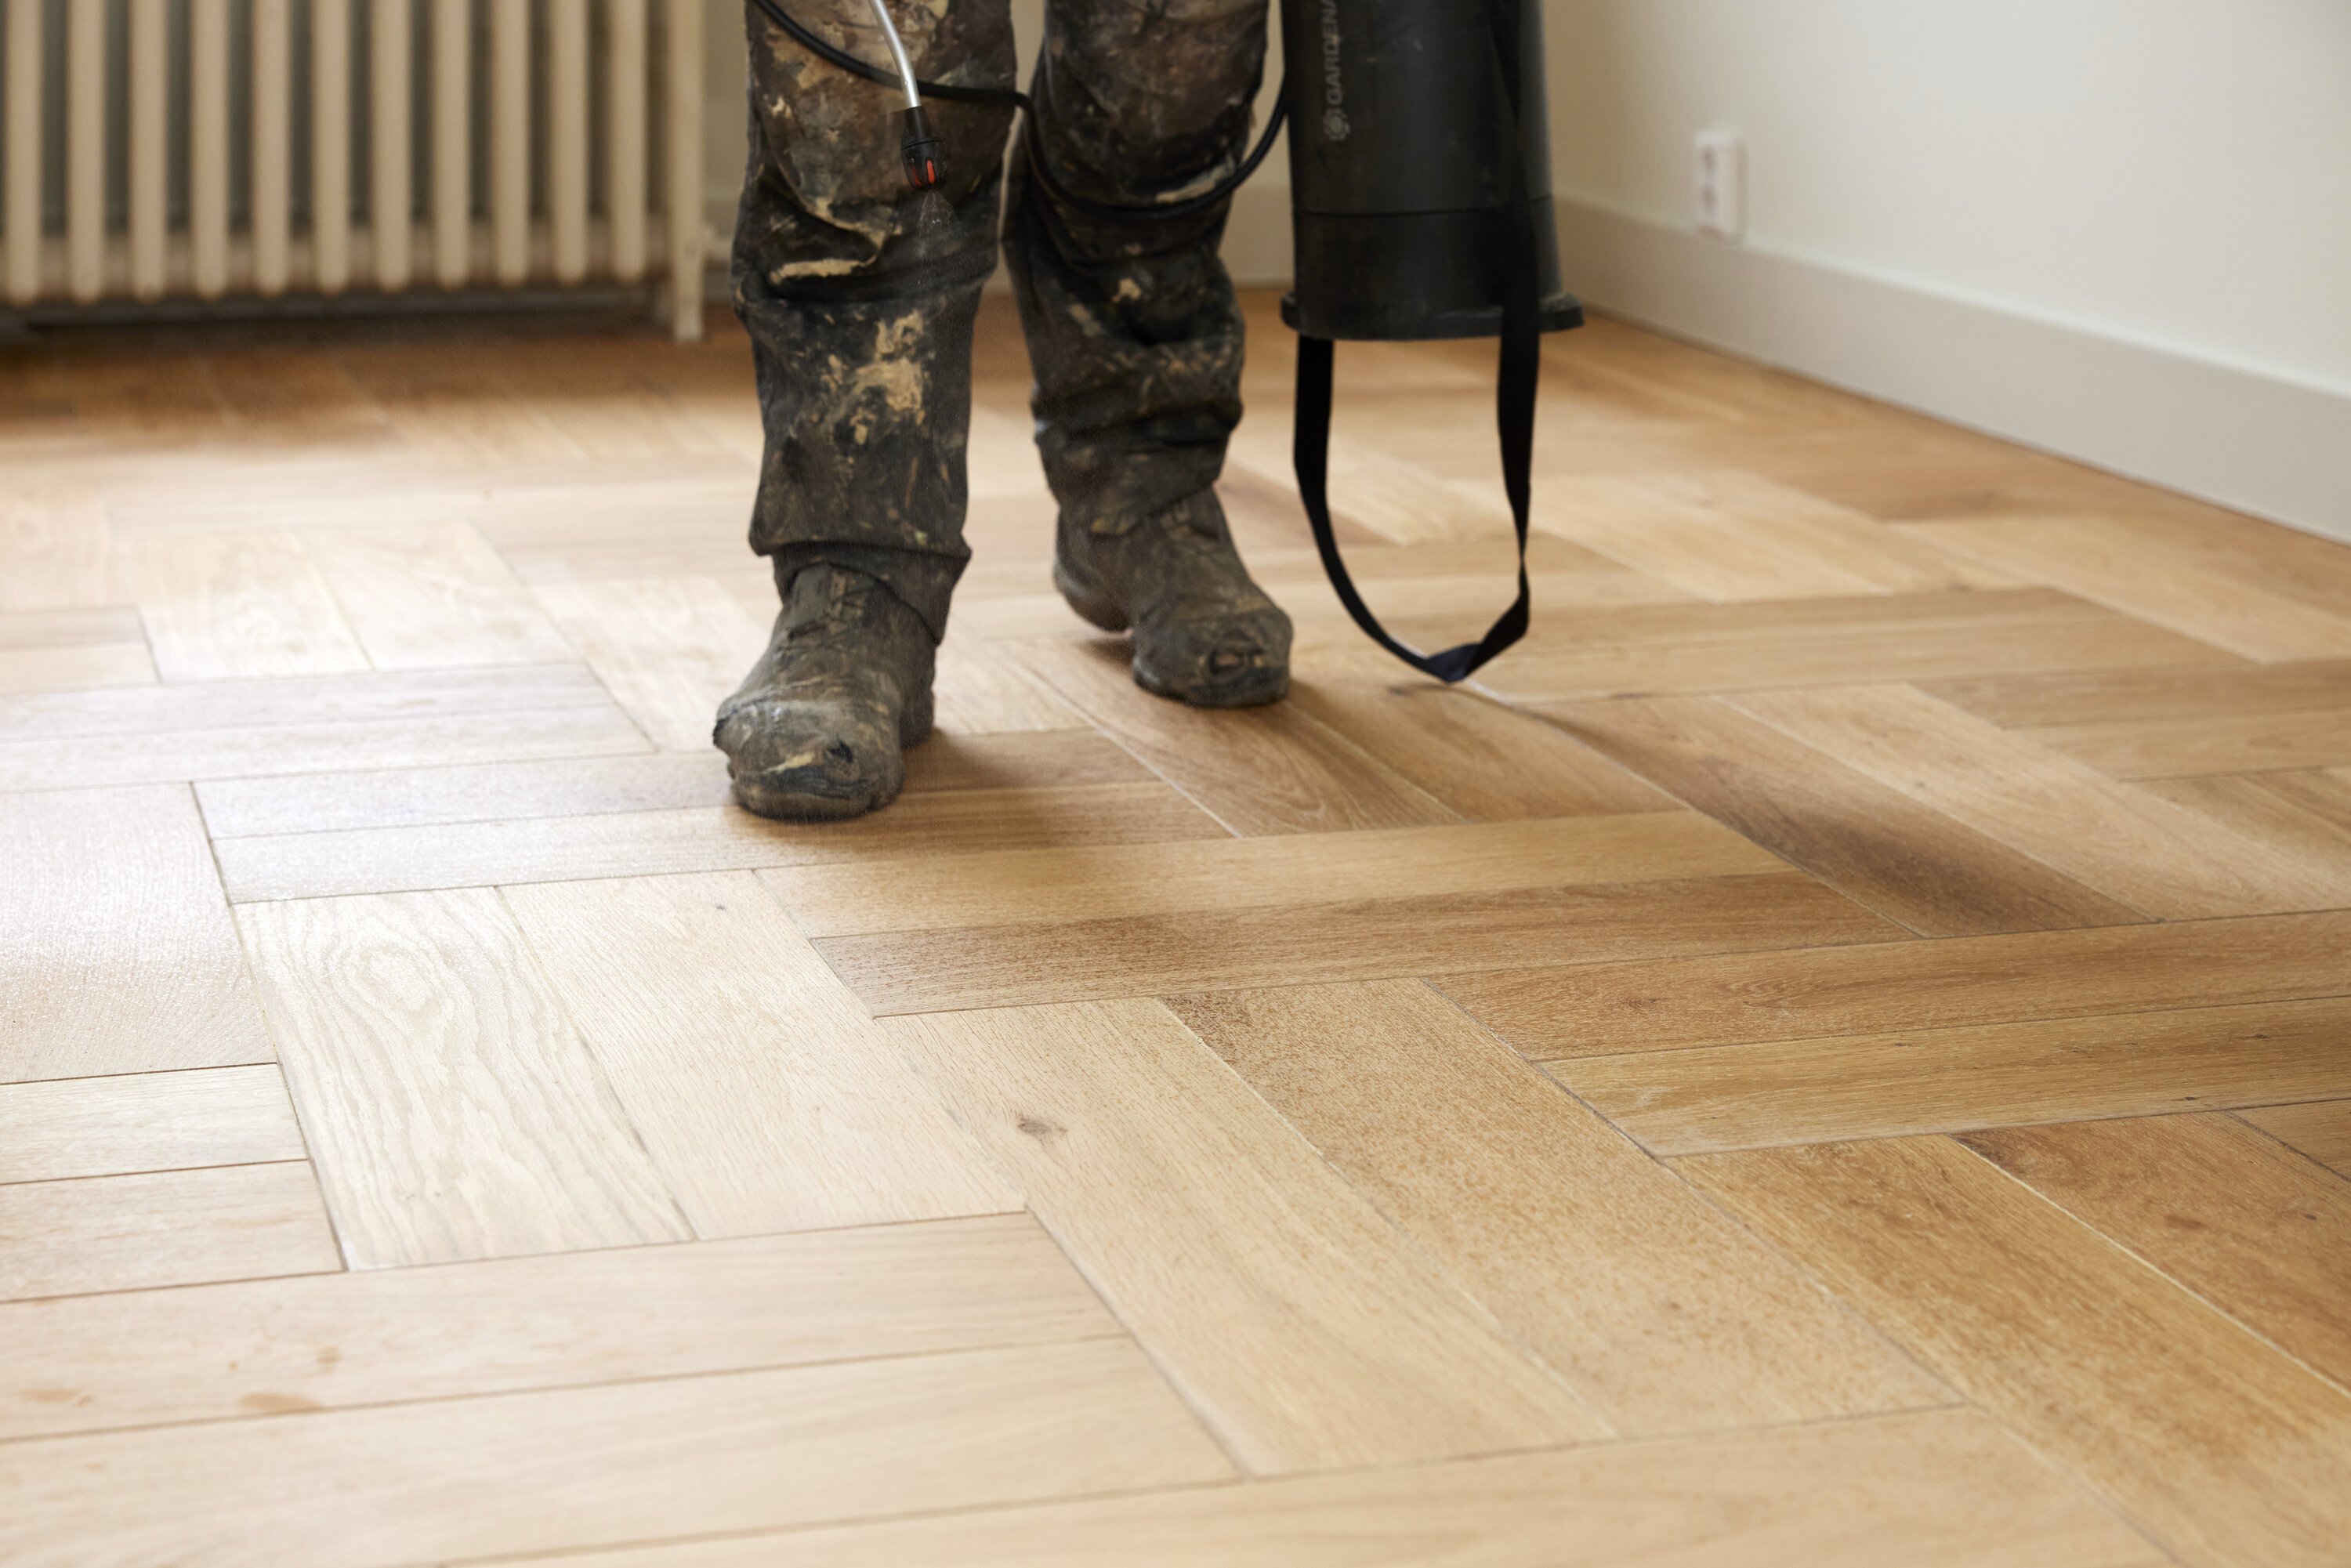
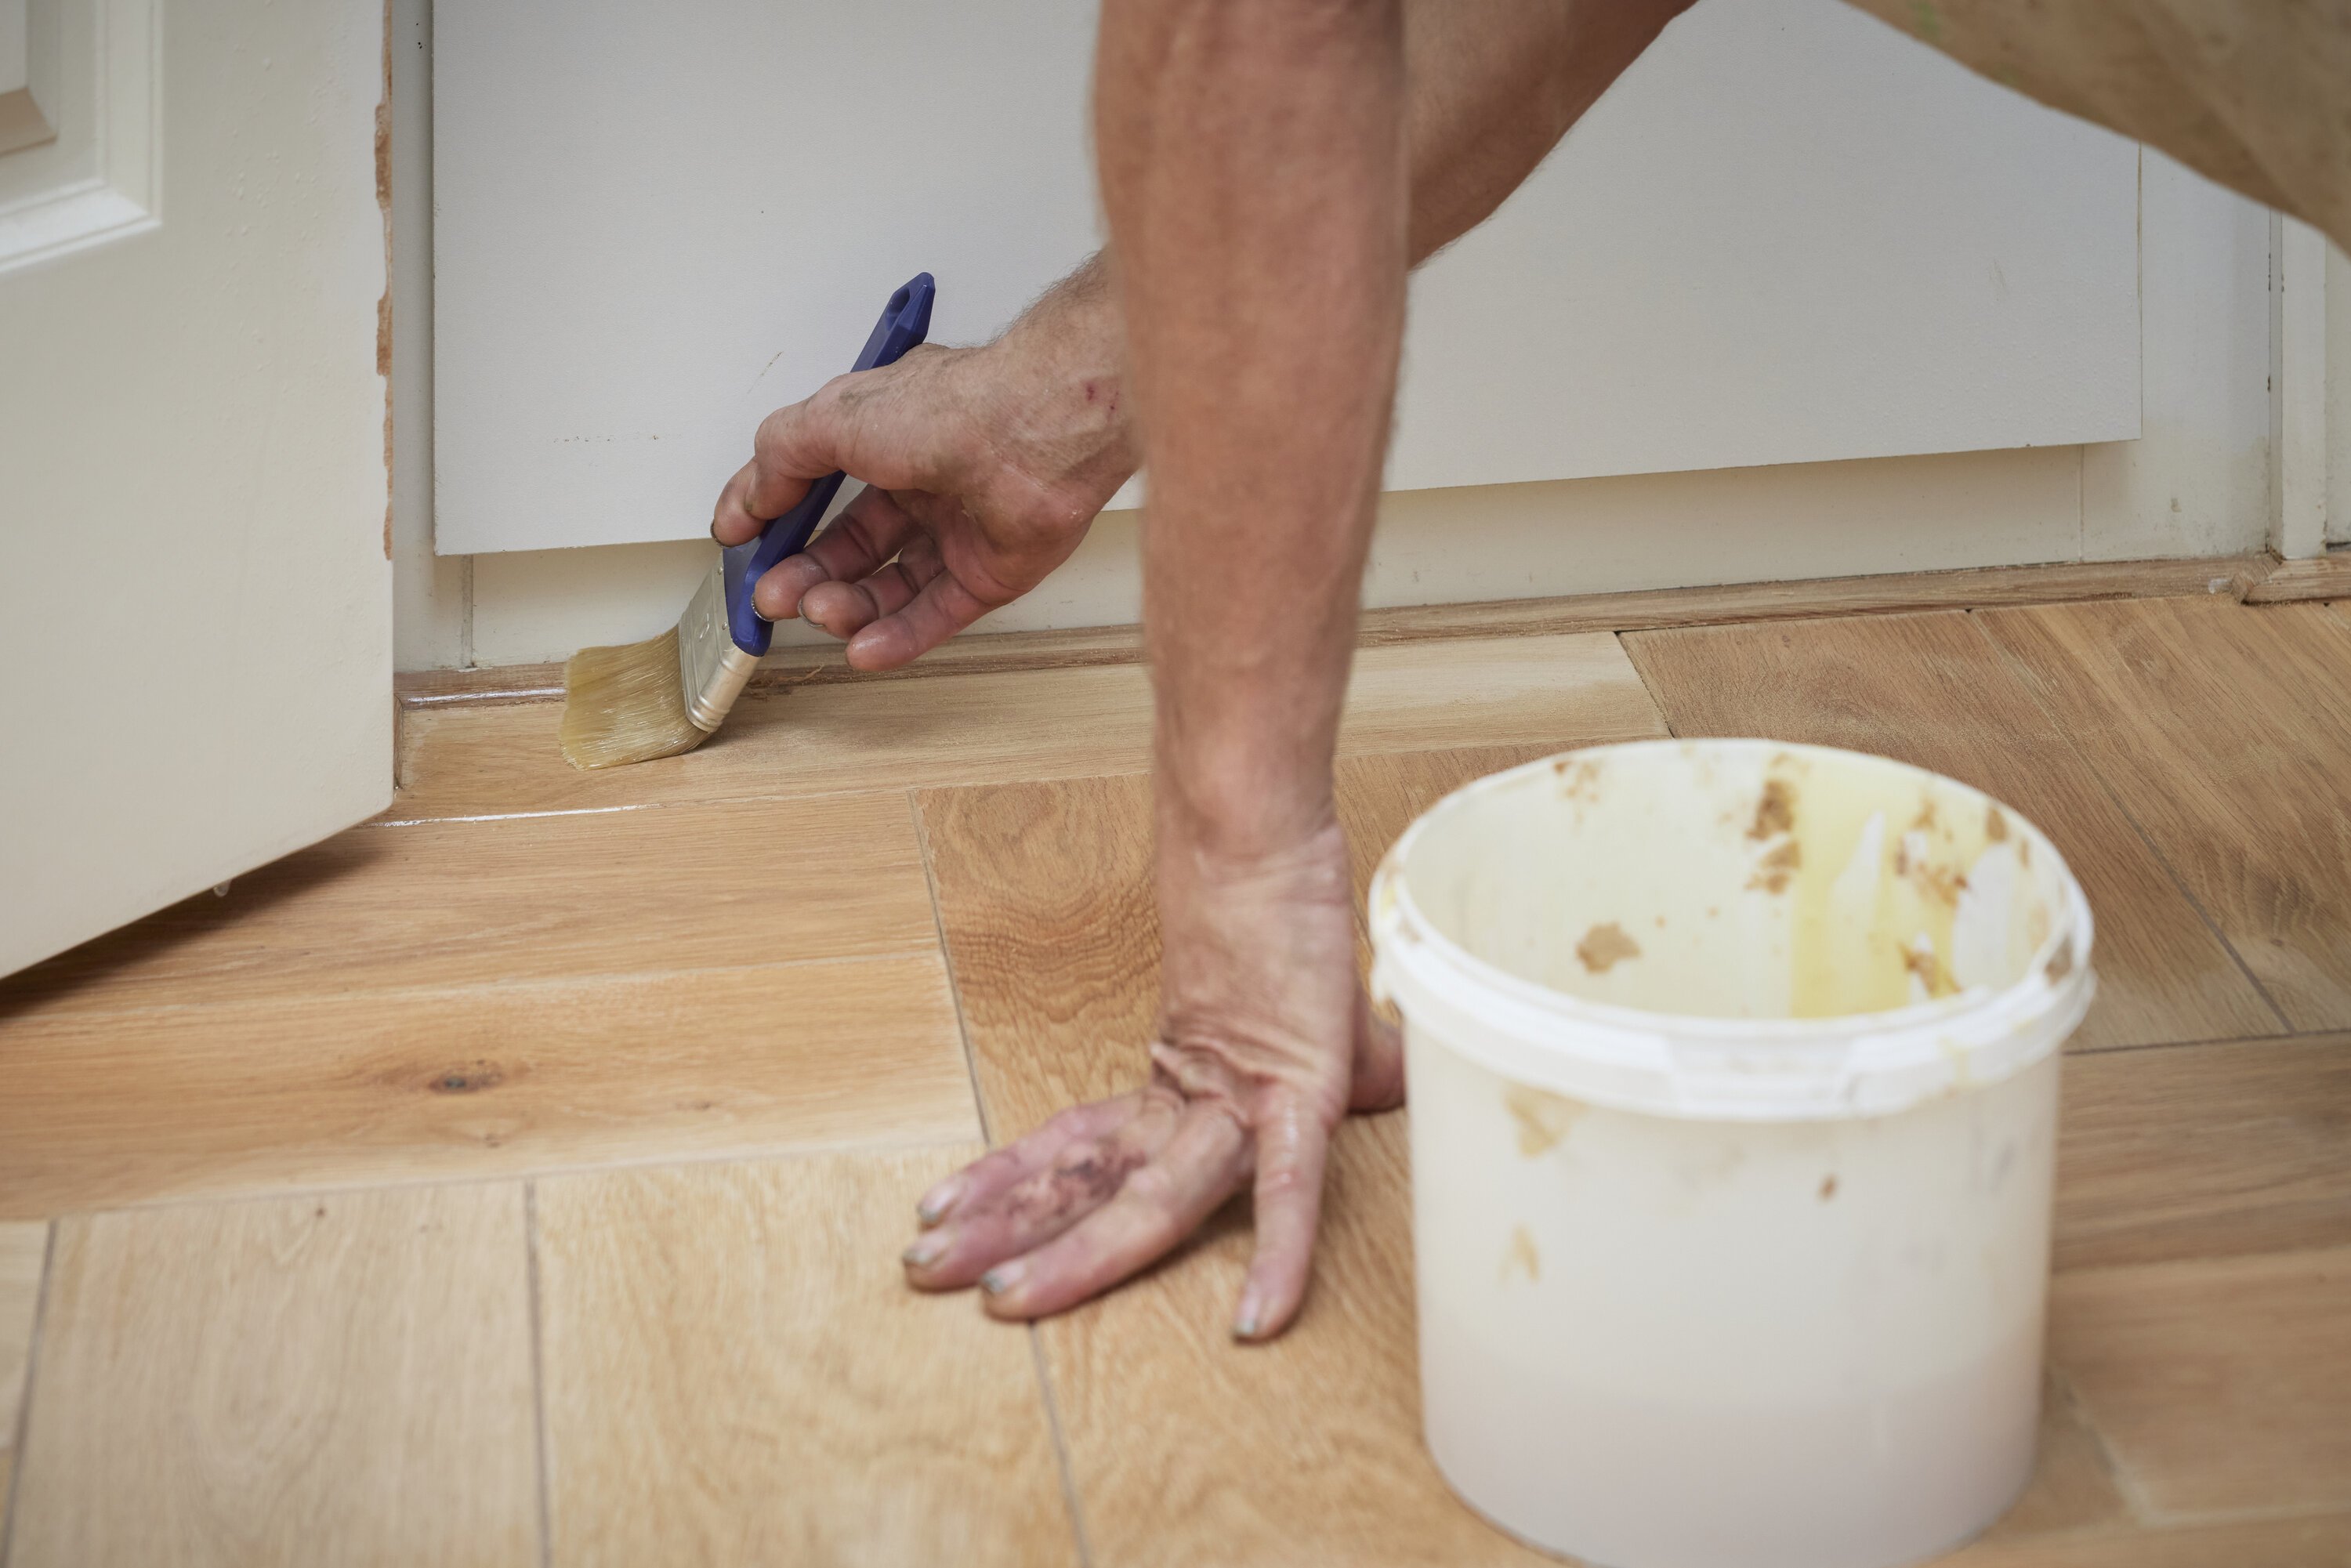
Along walls, window frames, and radiators, the oil is applied by hand using brushes and cloths. For larger surfaces, the same machine used for sanding and polishing is employed. A sponge pad is used to work in the oil. Once the floor has been treated, a fresh sponge pad is used to remove excess oil.
After oiling, the floor needs sufficient time to dry. It should not be walked on for approximately 48 hours. After that, the floor is ready to be enjoyed for many years to come.
Below, you’ll find a selection of images captured during the renovation work. You can watch the video edit of the renovation process via this link: https://www.youtube.com/watch?v=j1lFZ4TaHh0
It’s my passion to document the work of skilled craftspeople in the right way. Project or interior photography can be used on your website or social media, but they are even more effective as references during (introductory) client conversations. Show what you’re proud of—so others understand why they should work with you.